

Old Fashioned Banana Bread Recipe (No Nuts)
- Preparation 15 min
- Cooking 1 h
- Servings 10
- Freezing Absolutely
Ads
🍌 THE base recipe, the one that works the first time
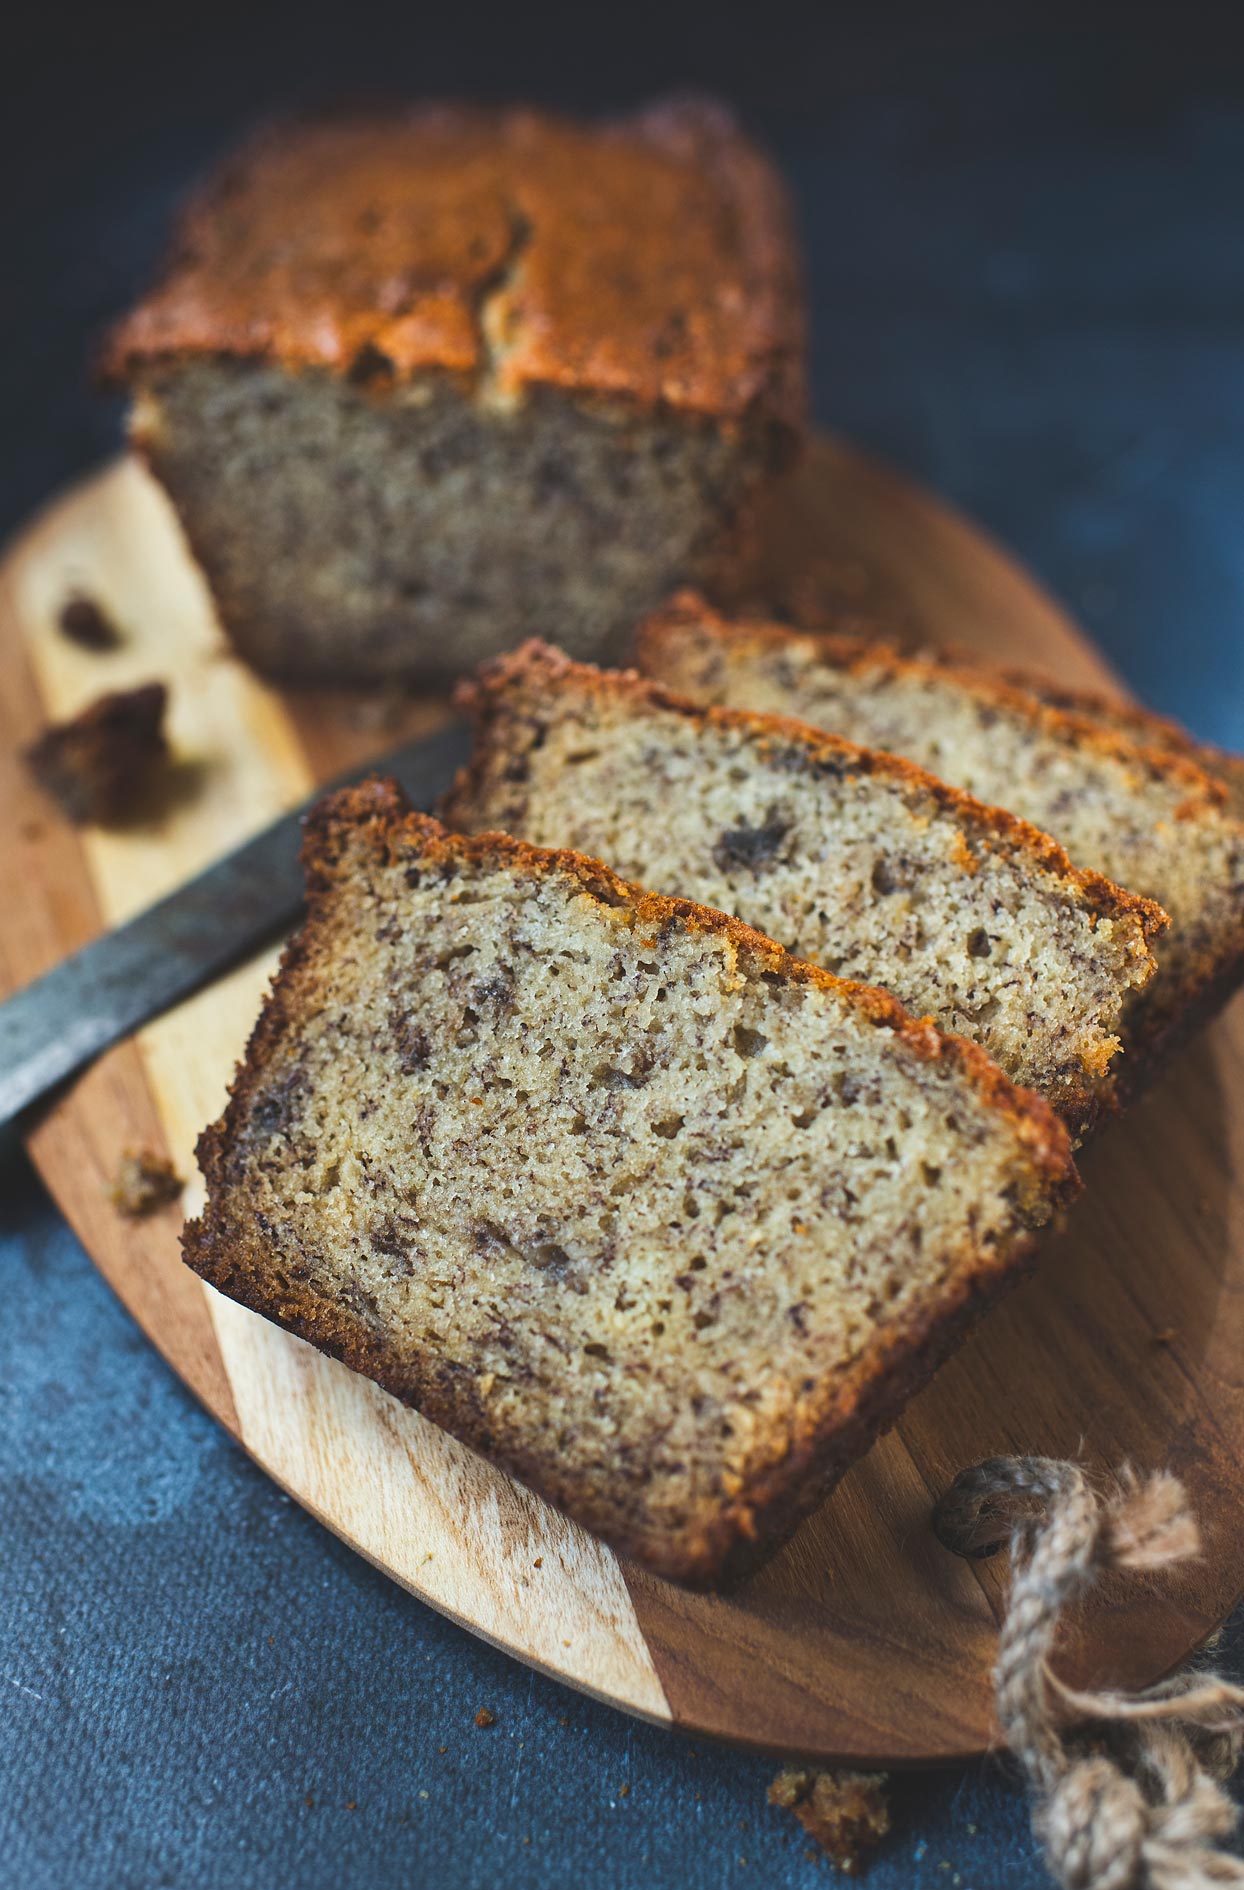
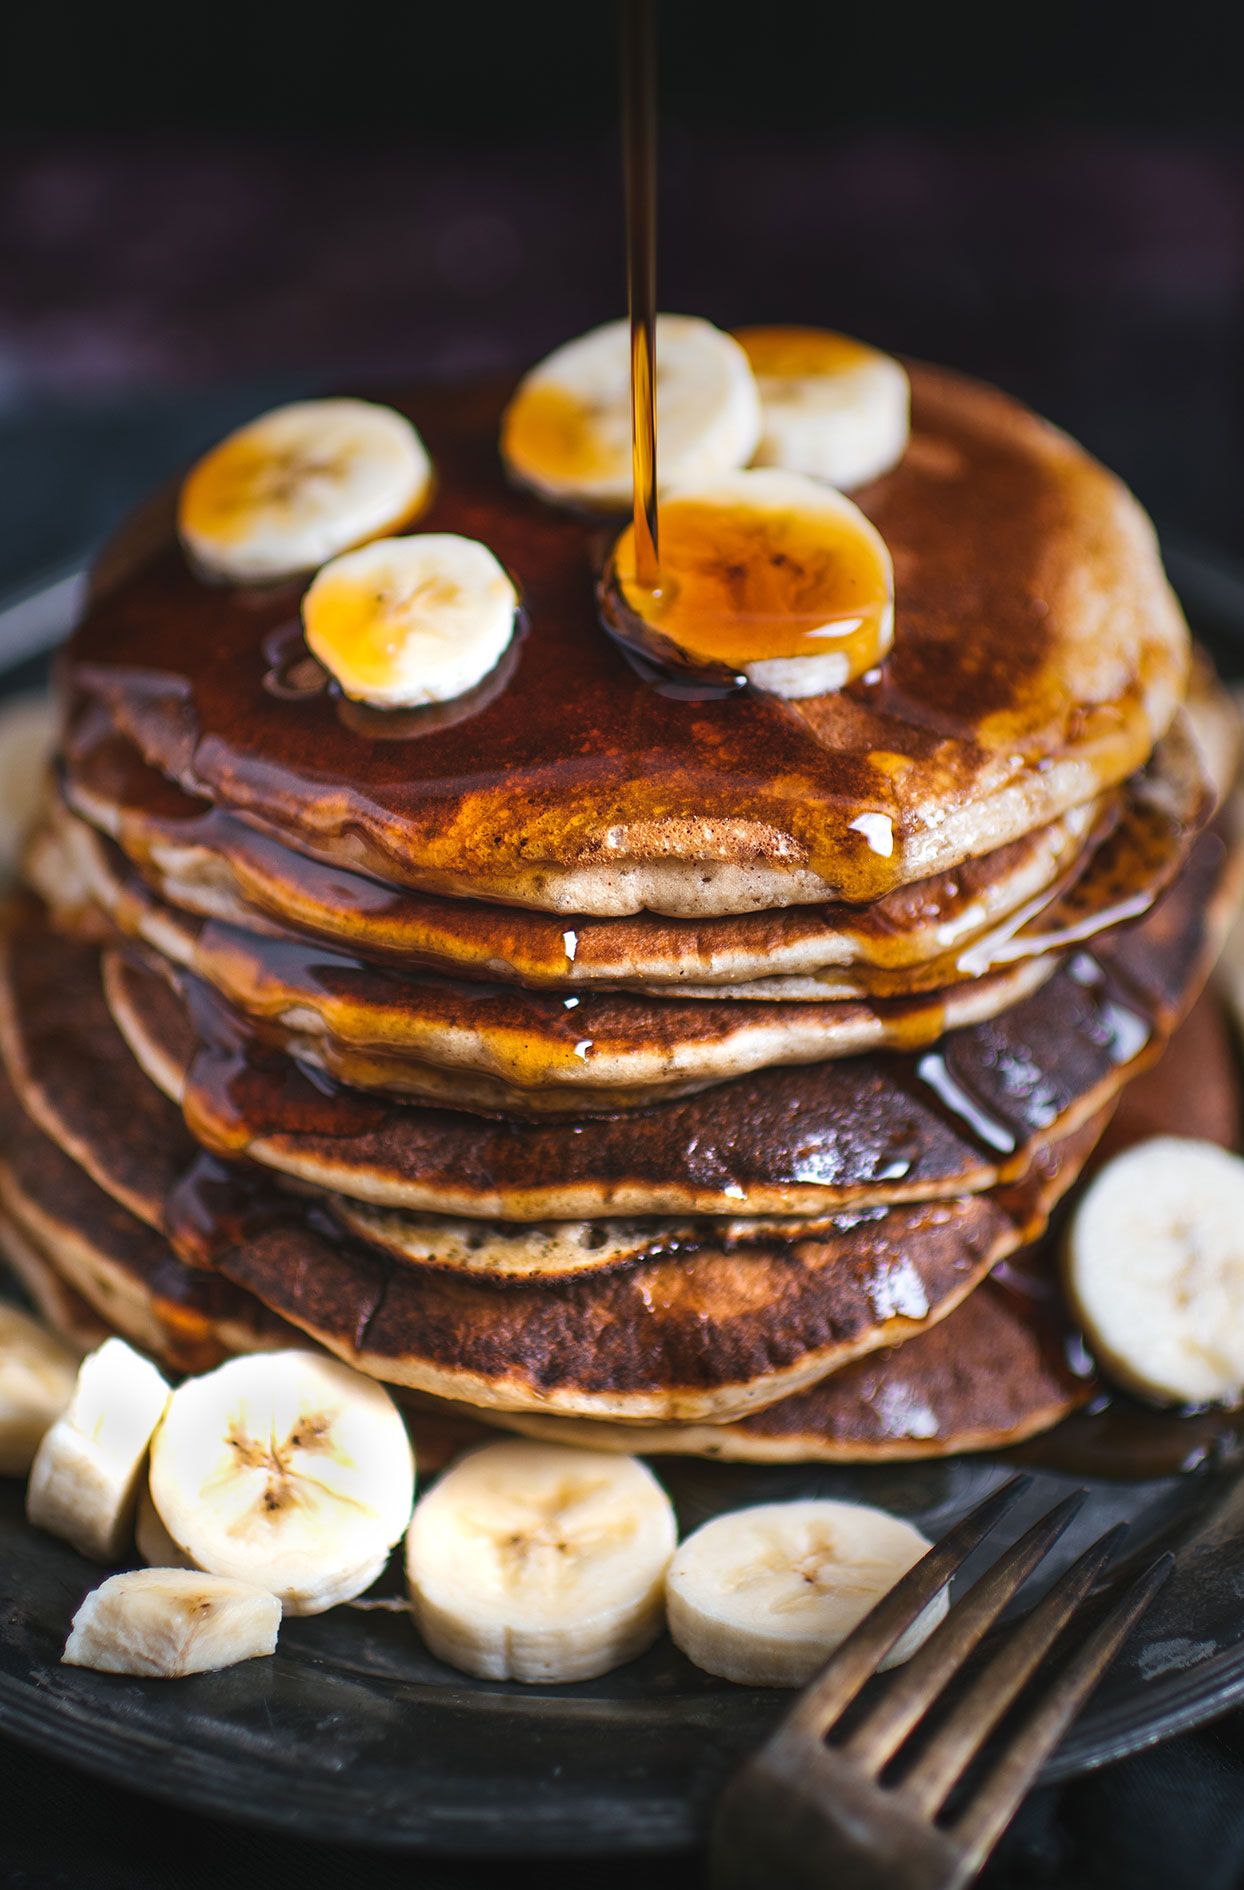
It’s absolutely delicious, and that’s exactly why I wanted it plain! No nuts, no chocolate, no yogurt. Just real, classic banana bread, moist, with a golden top that cracks down the middle. Slice it while it’s still warm, put butter on it and watch it melt. This is the base recipe you’ll keep for life, and you can build on it however you like.
🍂 Very, very dark bananas
Forget yellow bananas with a few spots. You want very ripe bananas, nearly black. At that stage the starch has turned into sugar and the flesh has softened, and that’s what gives you a naturally sweet, moist loaf without adding anything. I always keep some in the freezer. The moment a banana gets too ripe to eat, it goes in the cold, and the day I want banana bread, there are four waiting for me.
🔥 The MIDDLE rack, and here’s why
I made this mistake so you don’t have to. The first time, I put my pan on the top rack, and the sides rose before the centre: my loaf came out much lower. Heat from the top element sets the crust too early, and the centre has no room left to rise. On the middle rack, the heat wraps around the pan evenly and it rises the way it should.
Ads
Ads
🔥 Middle rack, no exceptions
This is the mistake I made and it costs you. On the top rack, heat from the upper element sets the crust on the sides and top while the centre is still rising. The result: the edges climb, the middle stays low, and the loaf comes out denser. On the middle rack, the heat surrounds the pan evenly and it rises as one piece, with that beautiful crack down the length.
🍌 Keep your overripe bananas in the freezer
That’s how I do it and I recommend it. A banana turning black on the counter gets peeled and goes into a freezer bag. On banana bread day, pull out four, let them thaw, and mash them with the liquid they’ve released. That liquid is pure sugar and flavour: don’t pour it out.
🧈 Actually cream the butter
With the electric mixer, the butter and sugar need to beat for a good minute or two, until the mixture turns pale and fluffy. That’s not fussiness: you’re trapping thousands of tiny air bubbles in the fat, and they’re what give you a tender crumb instead of a dense block. Room-temperature butter is a must, or it will never cream.
🥄 Stop mixing the moment the flour disappears
It’s the rule for every quick bread and the one people forget most. The more you stir once the flour is in, the more gluten develops and the rubberier the loaf gets. Use a spatula, not the mixer, and stop as soon as there’s no dry flour left. A few small lumps are perfect.
⏱️ The toothpick decides, not the clock
Between 55 minutes and an hour at my place, but every oven is different and so are your bananas. Push a toothpick into the centre, where it’s thickest. If it comes out clean or with a few dry crumbs, it’s done. If it comes out with wet batter, give it five more minutes and test again.
📅 Getting ahead
The loaf itself is best made the same day and eaten warm, but the prep is easy to do ahead. Dry ingredients measured and mixed in a labelled container, butter out of the fridge the night before, bananas already mashed in the fridge. The next day you cream, mix and bake in under ten minutes. And since it freezes so well, making two at once is never a bad idea.
🫙 It keeps, and it freezes
Wrapped in plastic or in an airtight container, it keeps three to four days on the counter. It freezes very well, whole or sliced. I slice it first so I can pull out one slice at a time, run it through the toaster, and it’s like it just came out of the oven.
✅ What to serve with my old fashioned banana bread
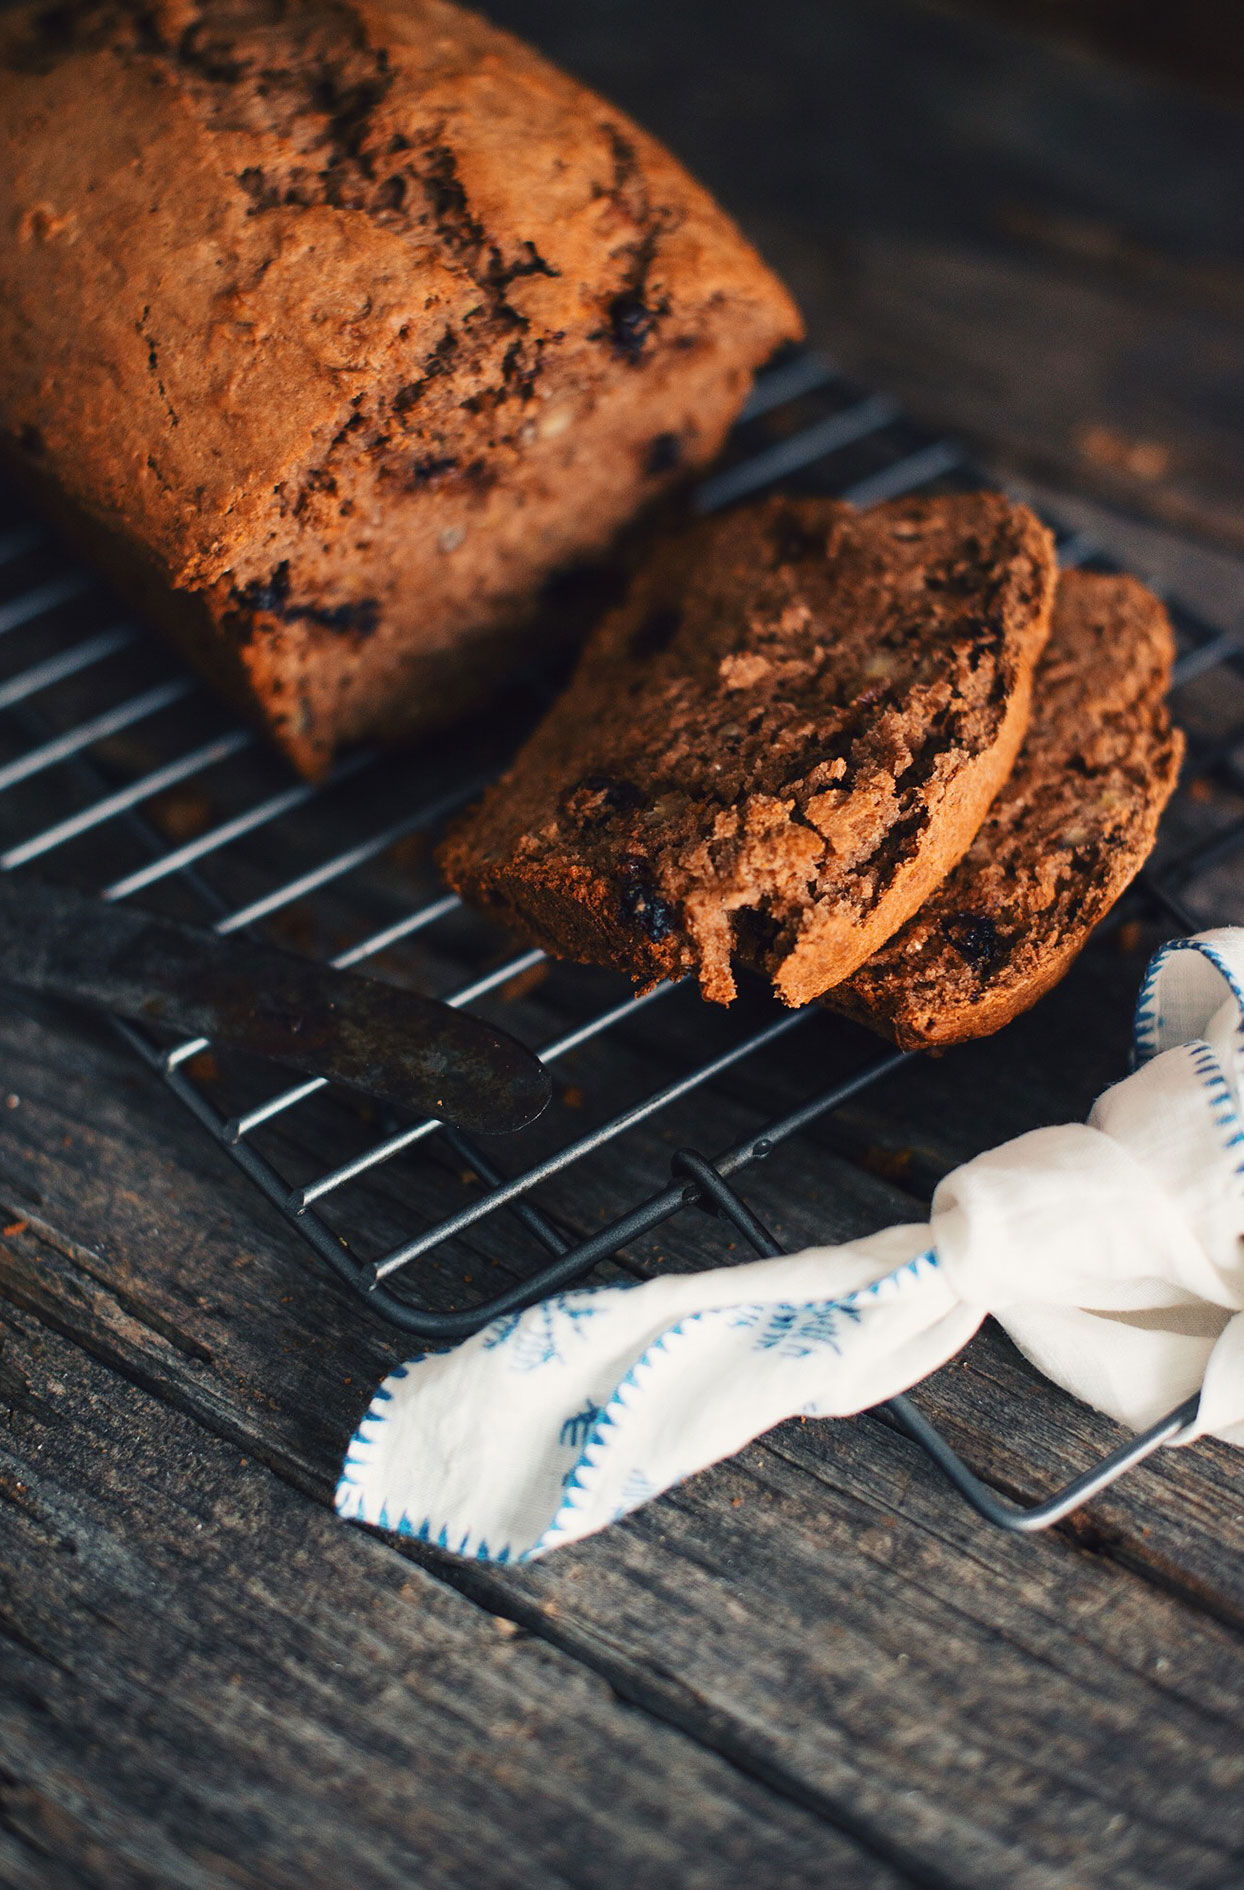
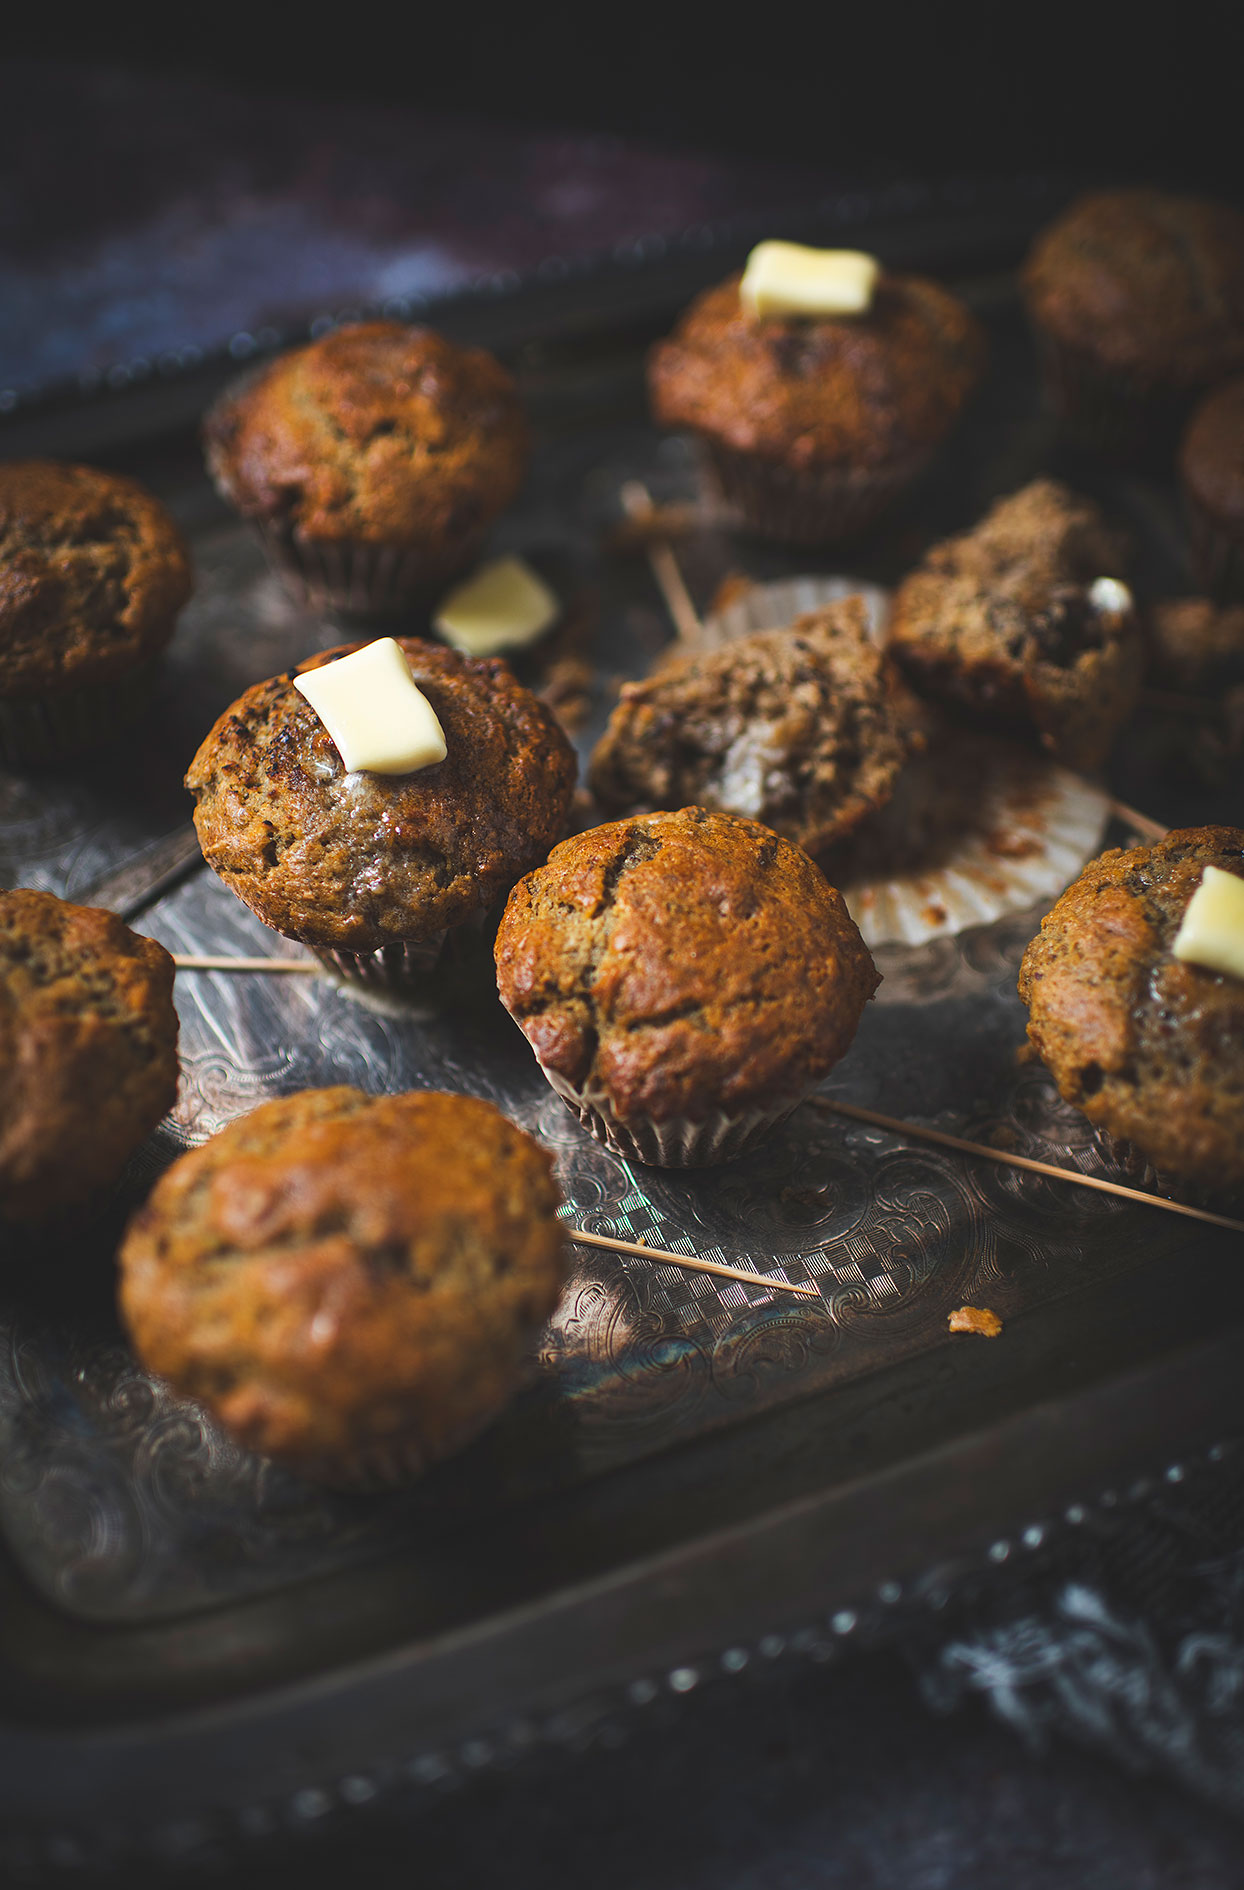
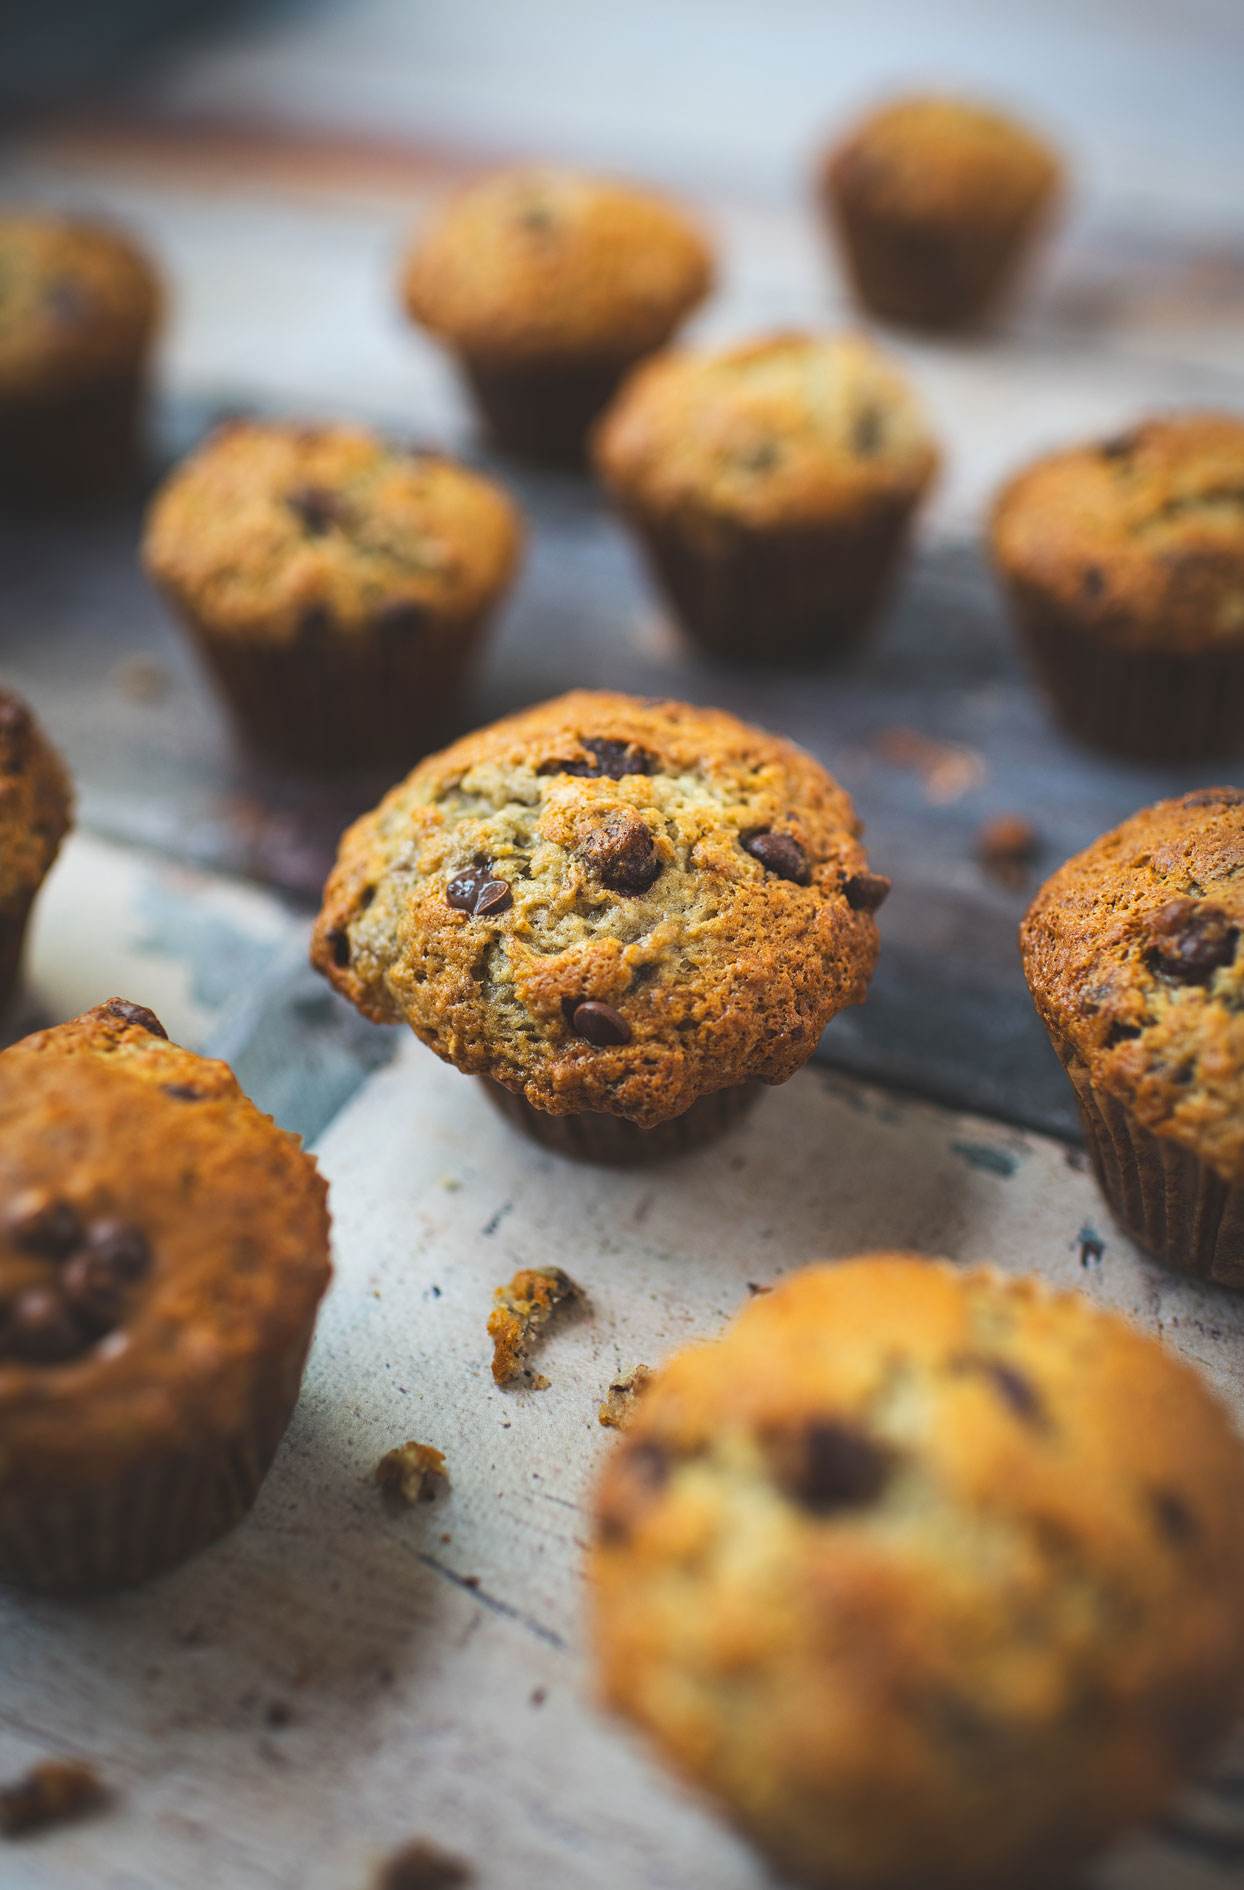
Plain, warm, with butter melting on top. That’s it, and it’s perfect. The next day, a toasted slice with butter makes an incredible breakfast. If you want something richer, look at my banana bread with chocolate and nuts, and if individual portions are more your thing, my banana pecan muffins start from the same idea.

Ads
Ingrédients
- ½ cup (115 g) salted butter, at room temperature
- 1 cup (200 g) granulated white sugar
- 2 large eggs
- 1 tsp (5 ml) vanilla extract
- 4 large very ripe bananas, mashed with a fork
- 1 ¾ cups (230 g) all-purpose flour
- 1 tsp (5 ml) baking soda
- ½ tsp (2 ml) baking powder
- ½ tsp (2 ml) fine sea salt
Ads
Preparation
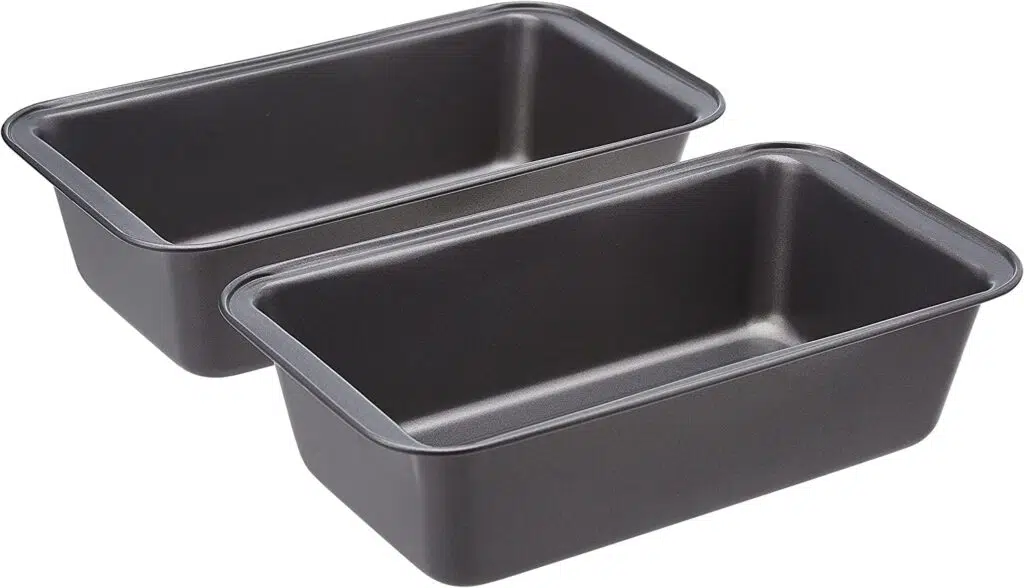
- Set the rack in the middle of the oven and preheat to 350°F (175°C). Grease a loaf pan of about 9 x 5 inches.
- In a large bowl, with an electric mixer, cream the butter and sugar until pale and fluffy.
- Add the eggs one at a time and the vanilla, beating well, then mix in the mashed bananas.
- In another bowl, stir together the flour, baking soda, baking powder and salt with a fork.
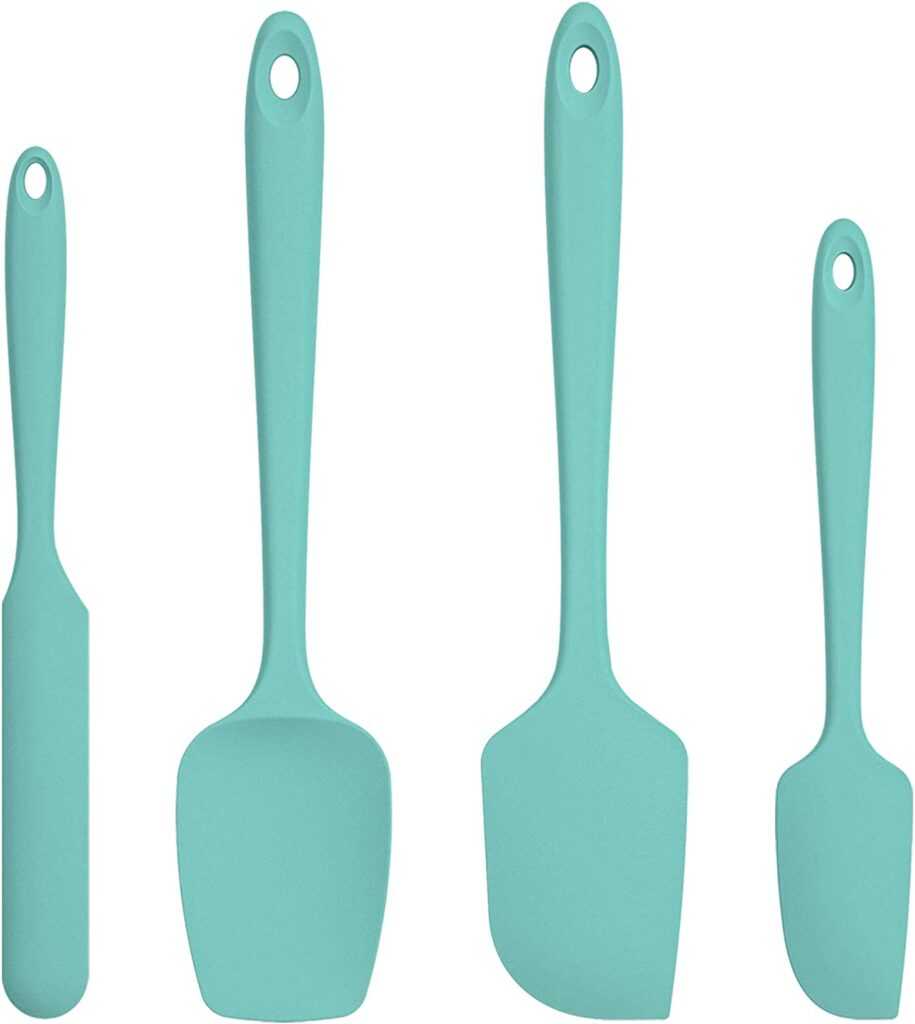
- Fold the dry ingredients into the banana mixture with a spatula, just until the flour is moistened. Don’t overmix.
- Pour the batter into the pan and smooth the top.
- Bake on the middle rack for 55 minutes to 1 hour, until a toothpick inserted in the centre comes out clean.
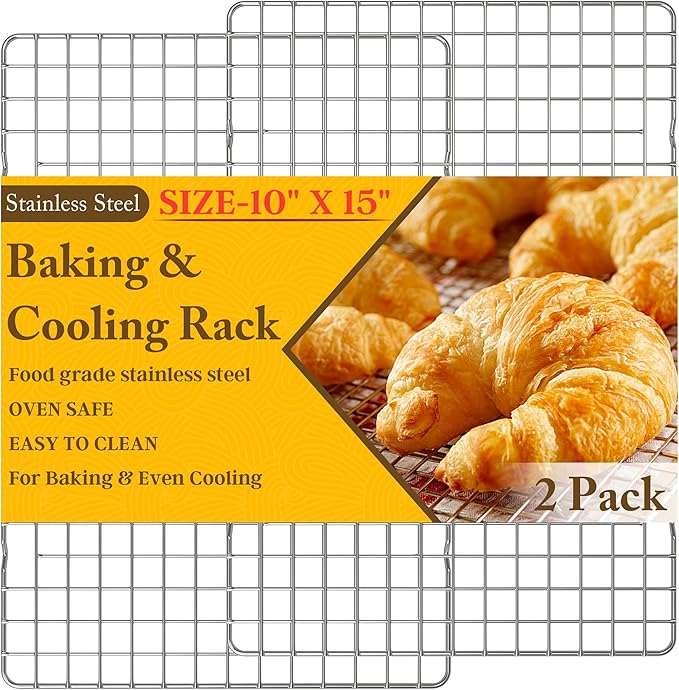
- Let cool 30 minutes in the pan before turning out onto a rack.
Baking it on the wrong rack, and I learned that the hard way. On the top rack, the upper element sets the crust too soon, and the centre, which cooks more slowly, has no room left to rise. You end up with high edges and a low, dense middle. Put your pan on the middle rack. Close behind: overmixing the batter once the flour goes in, and using bananas that aren’t ripe enough.
Bananas that are almost black. That’s genuinely most of it. At that stage the starch has turned into sugar and the flesh is soft enough to mash with no effort, which gives you a naturally sweet, moist loaf. Add properly creamed butter and a light hand with the flour, and there’s nothing left to go wrong.
Yes, and most of the time that’s exactly what I do. Let them thaw in a bowl, then mash them with all the liquid they’ve released. That liquid is full of sugar and flavour, so don’t drain it. Thawed bananas mash even more easily than fresh ones, and the loaf comes out just as moist.
It’s normal, and it’s actually a sign of success. The top cooks and sets before the inside has finished rising, so as the centre keeps expanding, it pushes against the crust and splits it down the length. That’s the crack you see on every bakery banana bread. If yours doesn’t crack at all, it probably rose less than it should have.
Three to four days on the counter, well wrapped in plastic or in an airtight container. Skip the fridge, which dries it out faster. For longer, freeze it: it keeps for months. Sliced ahead of time, you can pull out one slice at a time and pop it in the toaster.
Ads
Ads



Ads
Ads
Ads