

Yogurt and mixed berry popsicles
- Preparation 8 h
- Cooking 5 min
- Servings 12
- Freezing Absolutely
Ads
🍦 The healthy popsicles kids keep asking for
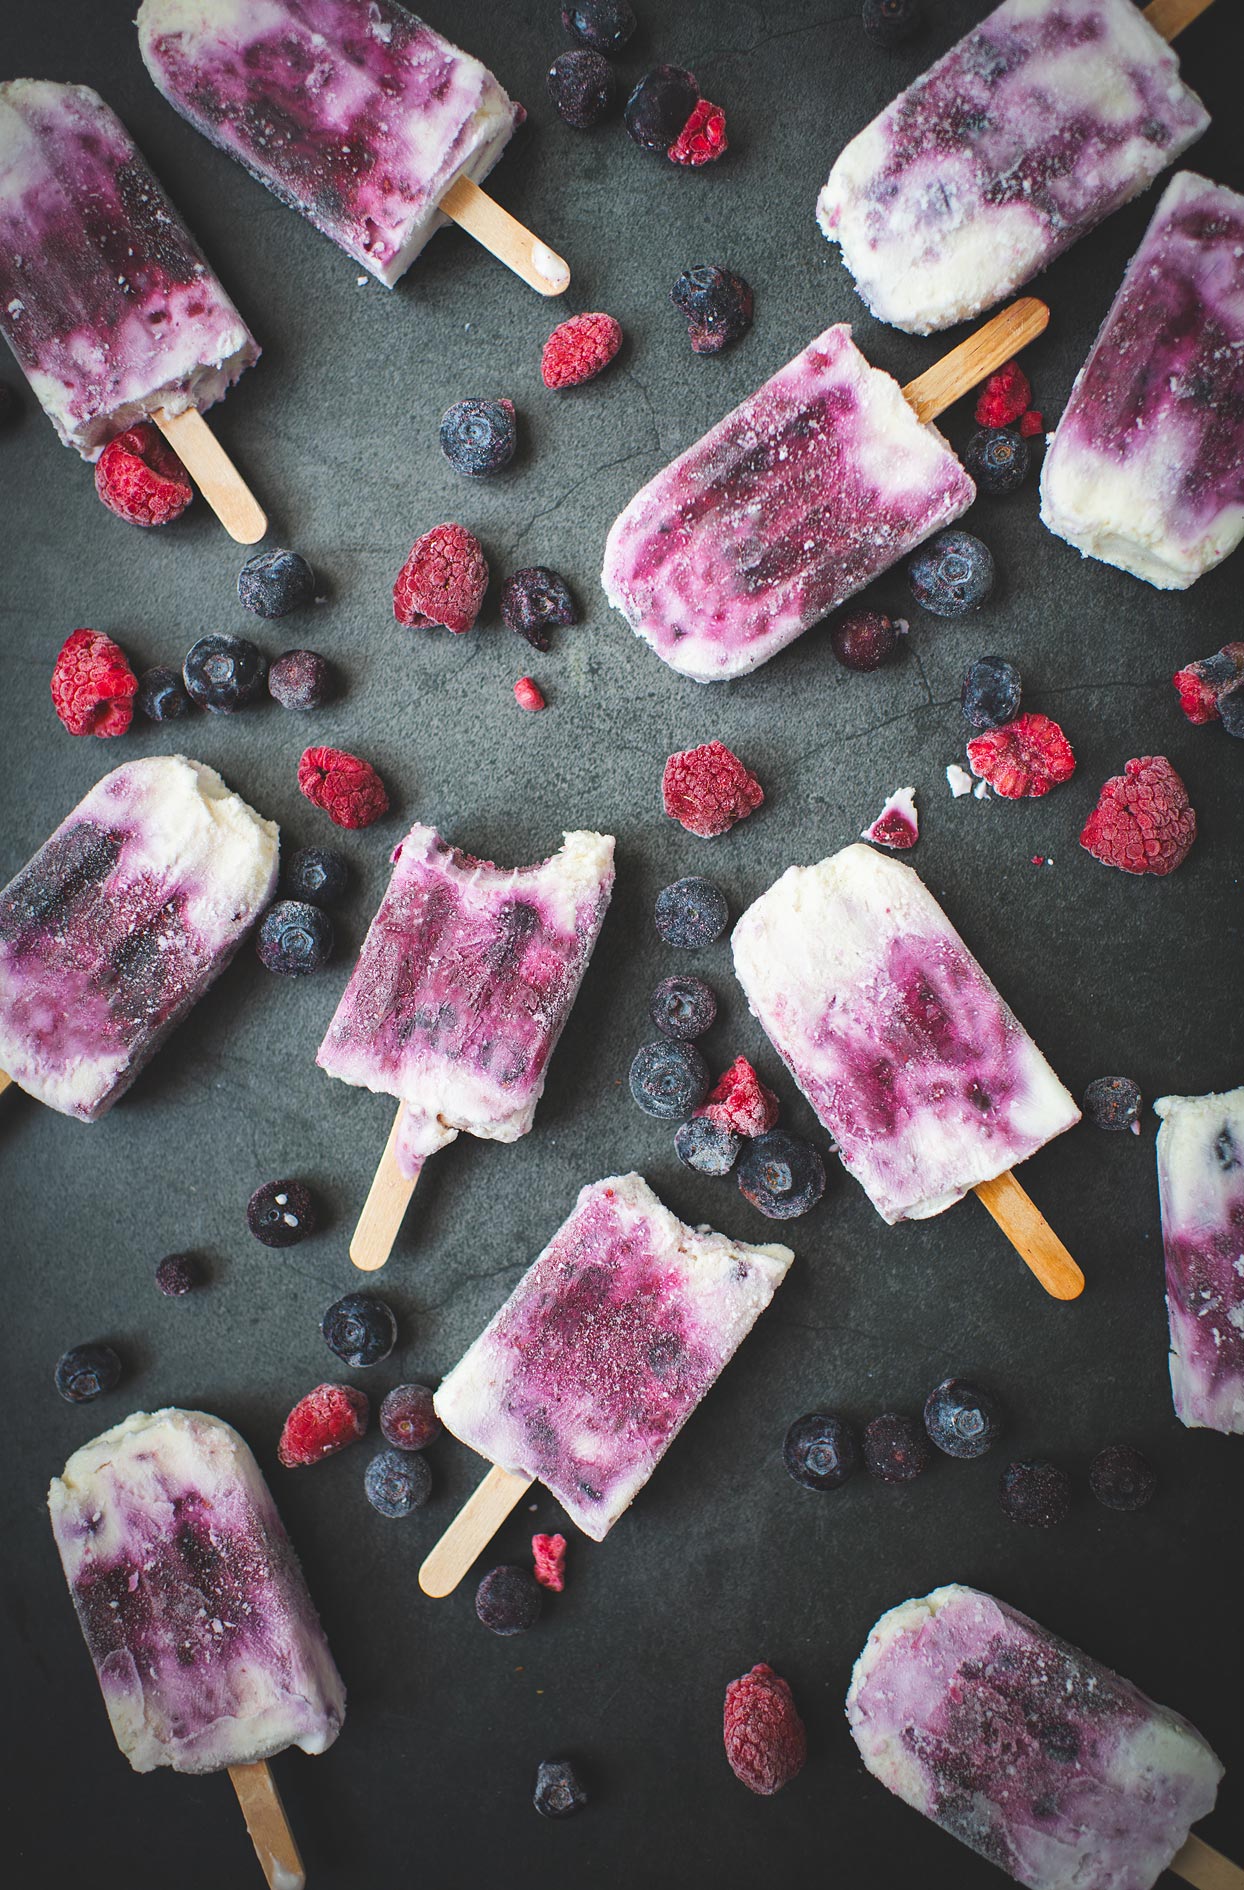
These yogurt and mixed berry popsicles. My boys went absolutely crazy for them, and honestly, even I think they’re incredible. Creamy, marbled, super light and just the right amount of sweet from the honey: it’s the perfect frozen dessert for summer. They’re delicious, they’re original, and they come together with simple ingredients you already have in the fridge.
🌀 Creamy, never icy
The secret to a smooth popsicle that isn’t hard as a rock is the whipped cream you fold into the yogurt. It traps air and creates a silky texture that melts in your mouth. Nothing like the crystallized popsicles you buy at the store. Add thick Greek yogurt and a touch of honey, and you’ve got a creamy dessert that actually tastes like real fruit.
🫐 A beautifully marbled dessert
By alternating layers of yogurt and berry purée, then swirling everything together with a straw, you get a gorgeous marbled effect that shows off all the layers. It’s just as pretty as it is delicious. I used a mix of blueberries and raspberries, but any blend of frozen mixed berries makes a popsicle that’s bursting with colour and flavour.
Ads

Ads
🌡️ Cornstarch: the anti-ice secret
This is the trick that changes everything. Frozen berries release a lot of water as they heat up, and that water would form ice crystals in your popsicles. By thickening the fruit purée with a little cornstarch, you eliminate that excess water and end up with creamy popsicles instead of icy ones. Do not skip this step.
🍦 Whipped cream at soft peaks
Whip the cream just until soft peaks form, when shapes start to appear without the cream being firm. That’s what gives it that airy, silky quality. If you overwhip it, it becomes grainy and you lose that beautiful smooth texture. Stop as soon as the cream holds its shape lightly.
🥛 A good thick Greek yogurt
I always use plain 0% lactose-free Greek yogurt. I find it thick and delicious, and it works perfectly here. Greek yogurt is much denser than regular yogurt, which makes for a richer, creamier popsicle. Avoid regular yogurt that’s too runny, as it will make the result more icy.
🌀 Marbled or fully mixed. Your call
To see the beautiful layers, alternate the yogurt and fruit, then swirl with a straw like I do. If you prefer a uniform popsicle, simply mix the fruit directly into the yogurt in a bowl before pouring into the molds. Both versions are delicious. It’s just a matter of style.
❄️ Unmolding with warm water
To get the popsicles out without breaking them, run the molds under warm tap water for 15 to 20 seconds while holding the sticks. The popsicles will slide right out. Avoid hot water, which would melt the outer layer and leave a grainy texture.
🫙 Up to 3 months in the freezer
These popsicles keep for up to 3 months in the freezer, either in their molds or transferred to an airtight container. Make a big batch at the start of summer and you’ll have homemade frozen treats ready to go at any time, for kids and grown-ups alike.
✅ What to serve with my yogurt and mixed berry popsicles?
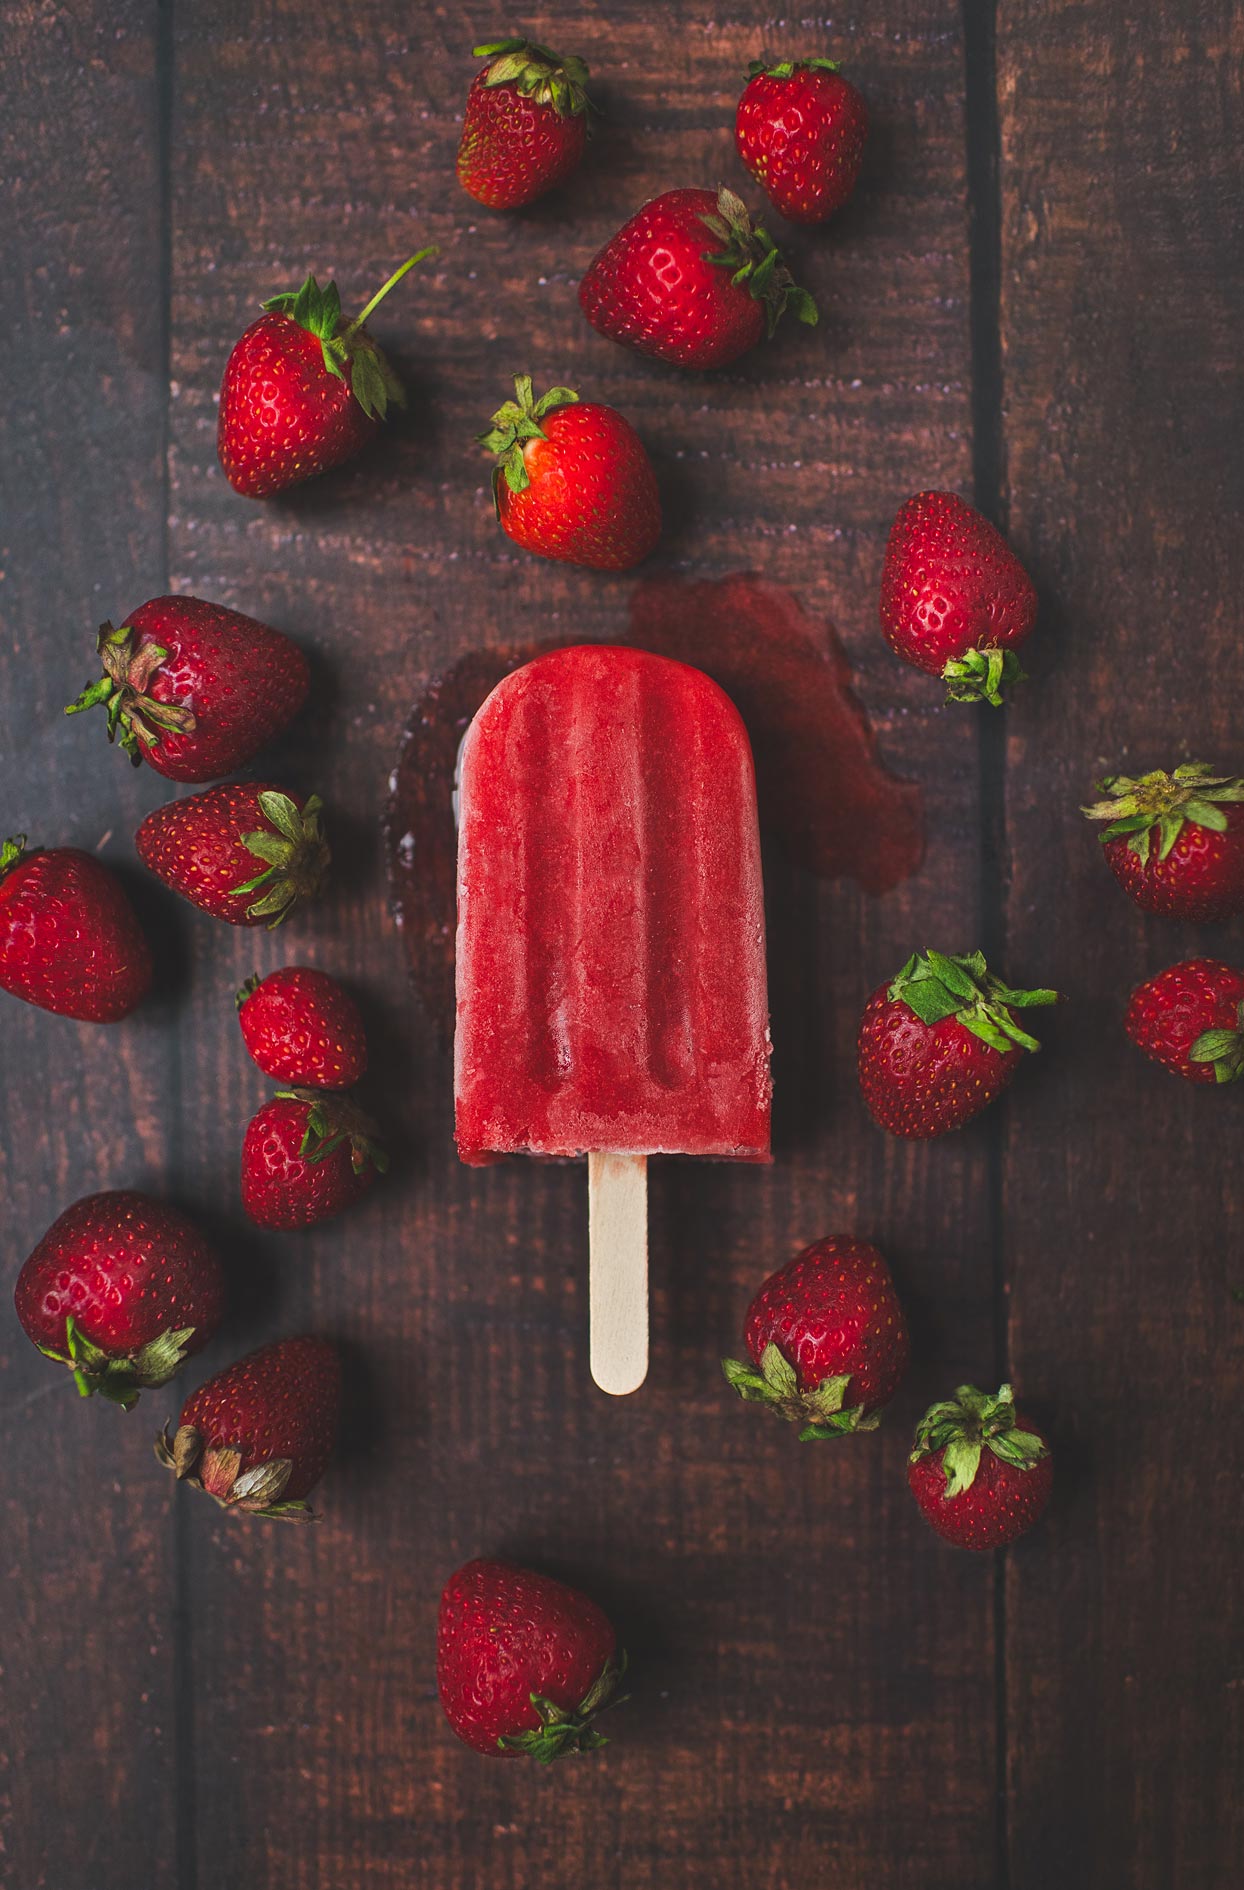
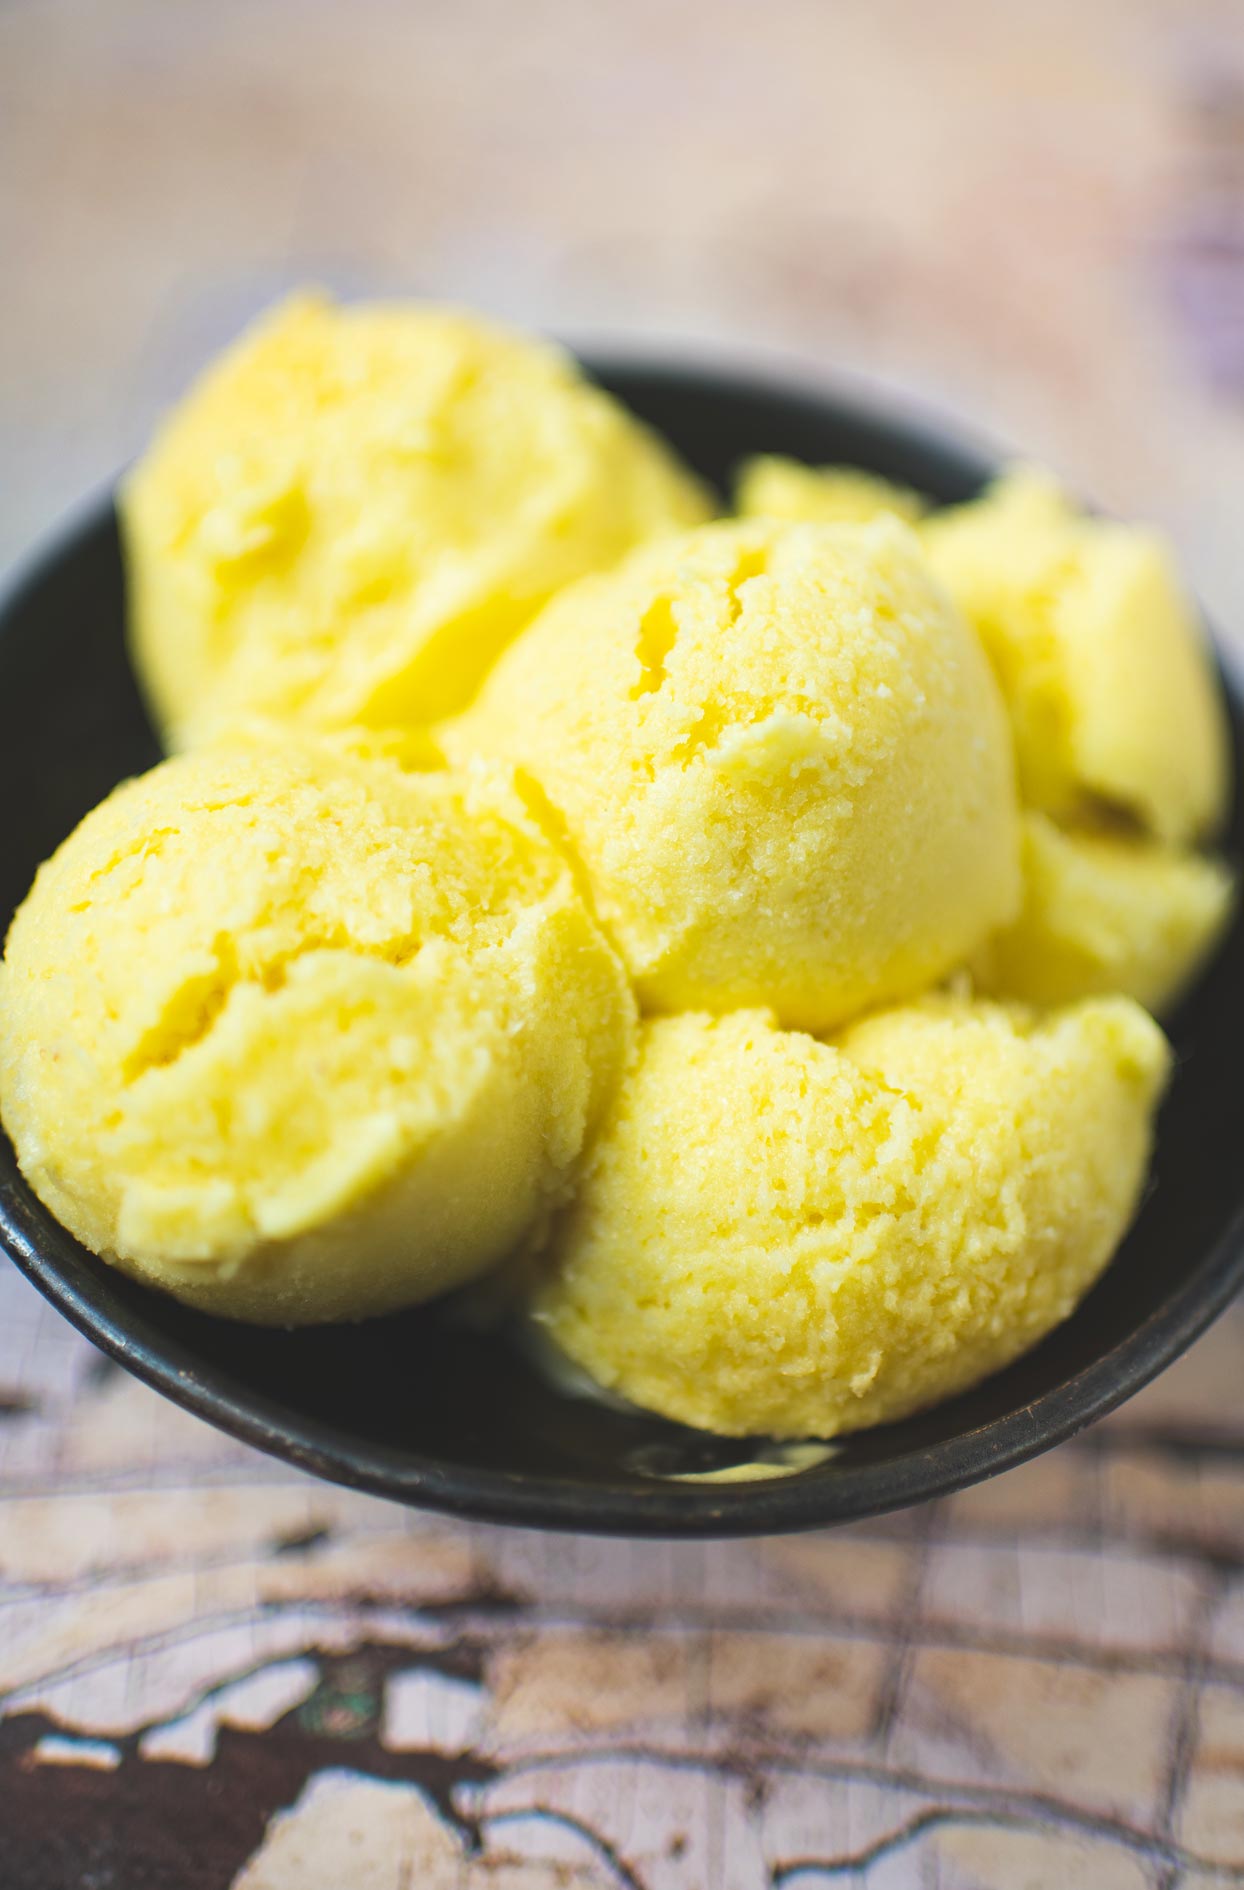
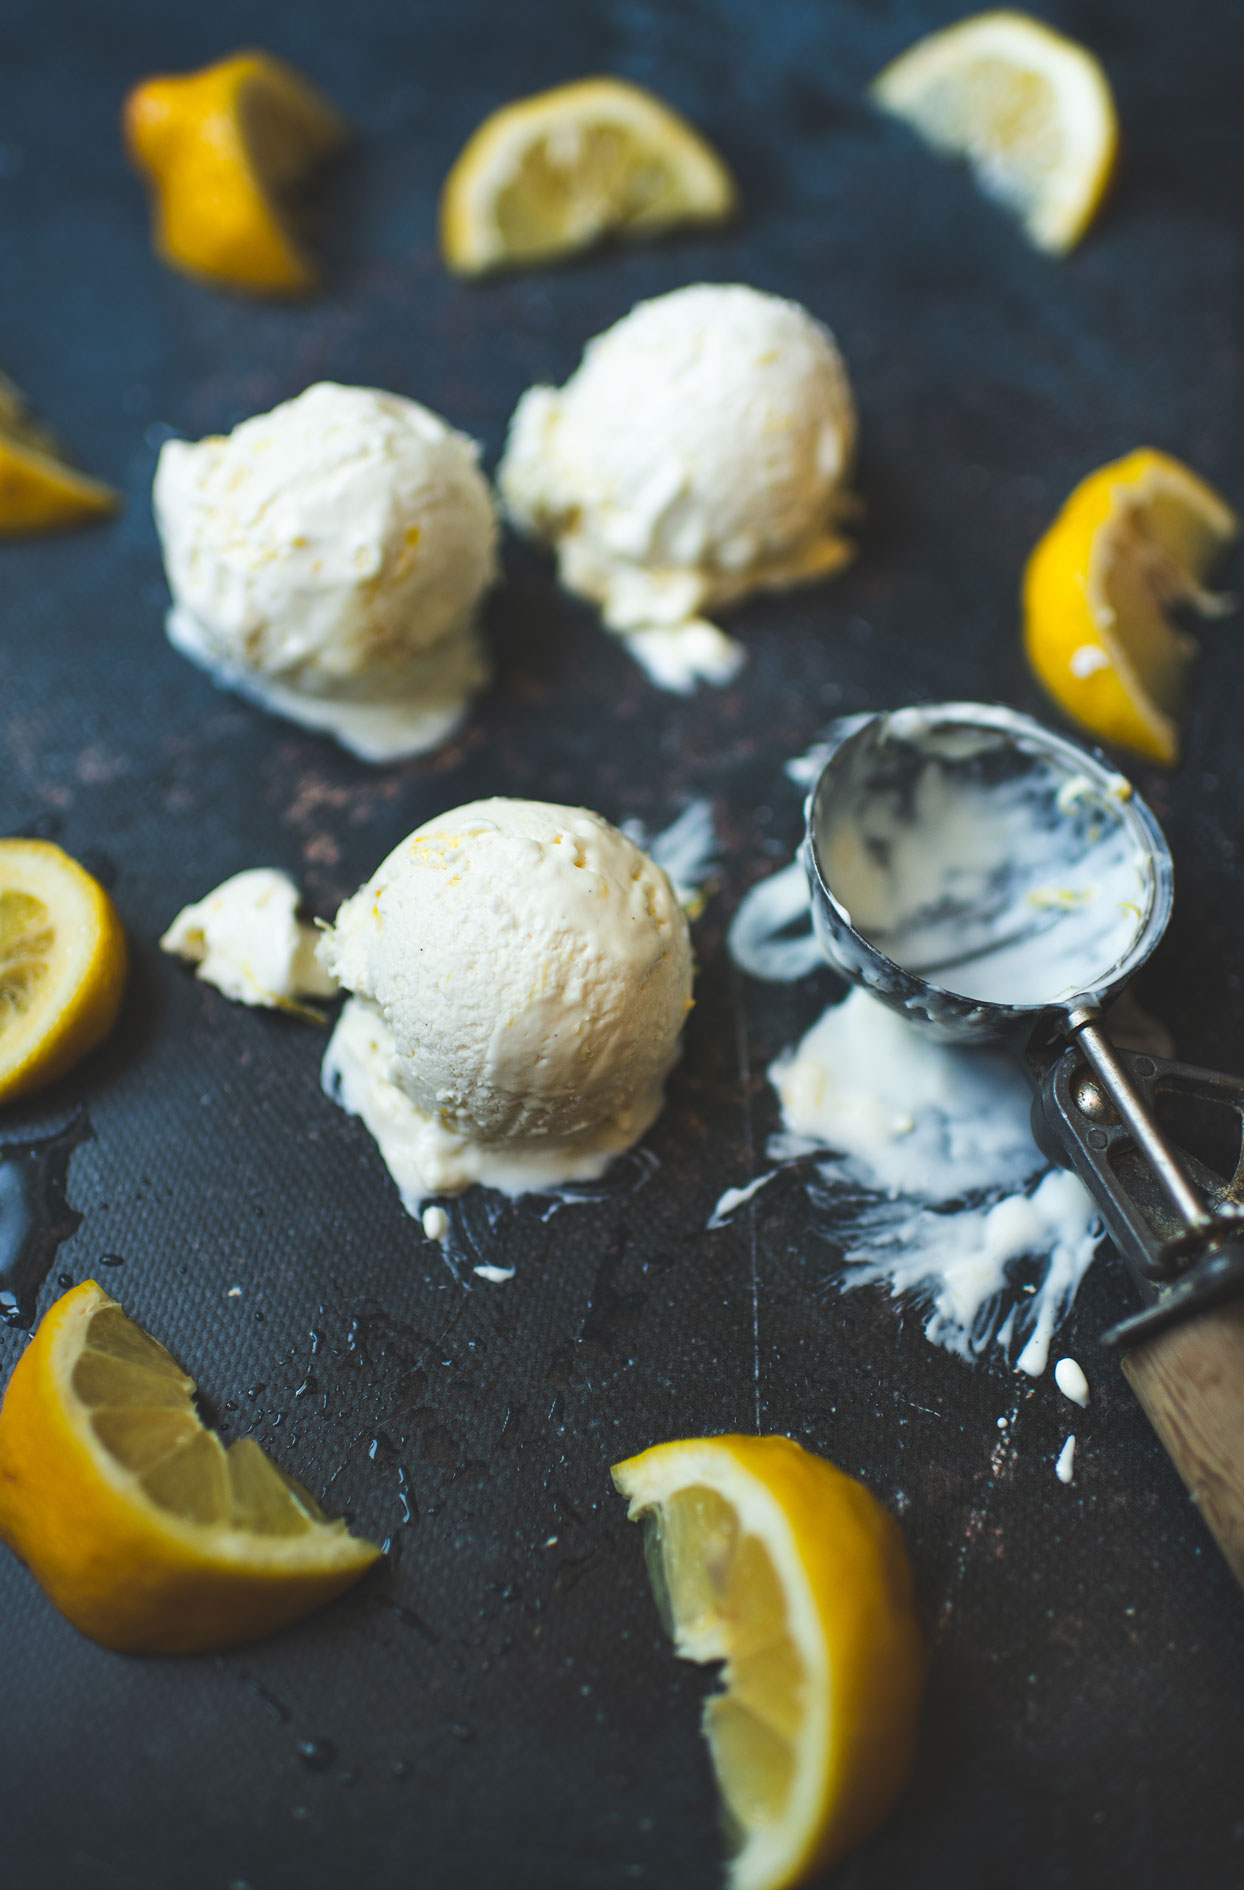
They’re perfect as an afternoon snack or a light dessert after a summer dinner. Serve them alongside my Strawberry popsicles or my Brazilian lemonade popsicles with mango and Greek yogurt to give the kids a choice. A tray of homemade popsicles and everyone is happy.
Ads
Mixed berries
- 3 cups (300 g) frozen mixed berries
- 1 tbsp (15 ml) cornstarch dissolved in 2 tbsp (30 ml) cold water
Yogurt
- 1 cup (250 ml) 35% whipping cream
- 1 tsp (5 ml) vanilla
- 1 cup (250 ml) plain Greek yogurt
- ½ cup (125 ml) honey
Ads
Preparation
- In a small saucepan over medium-low heat, warm the frozen berries until completely liquid with no frozen pieces remaining, then mash them with a fork. Remove from heat, stir in the cornstarch and water mixture, mix well, and let cool completely.
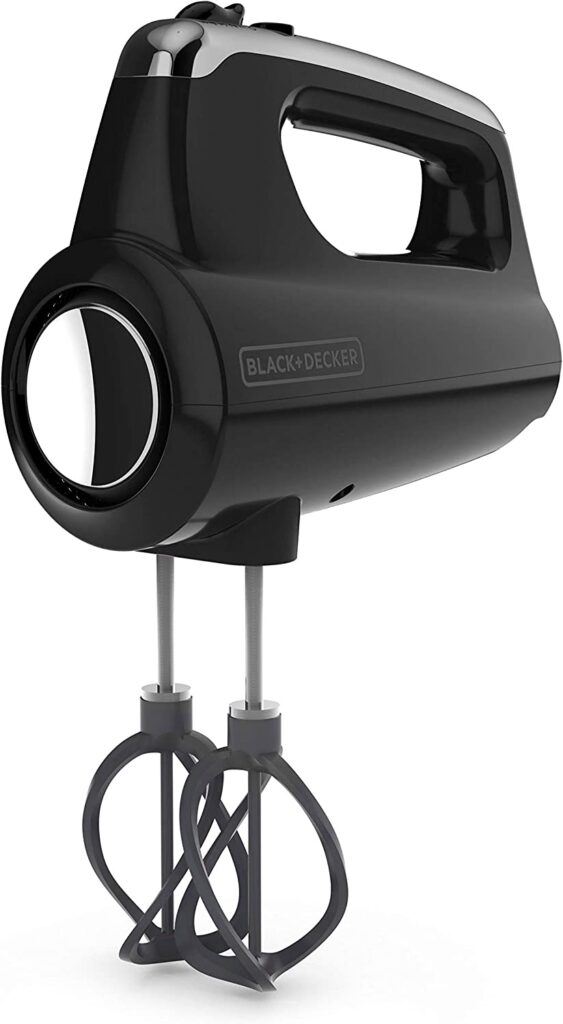
- Using a hand mixer or stand mixer, whip the cream with the vanilla until soft peaks form (the cream holds gentle shapes without becoming firm).
- Add the Greek yogurt and honey to the whipped cream, then fold gently until smooth. Do not overmix.
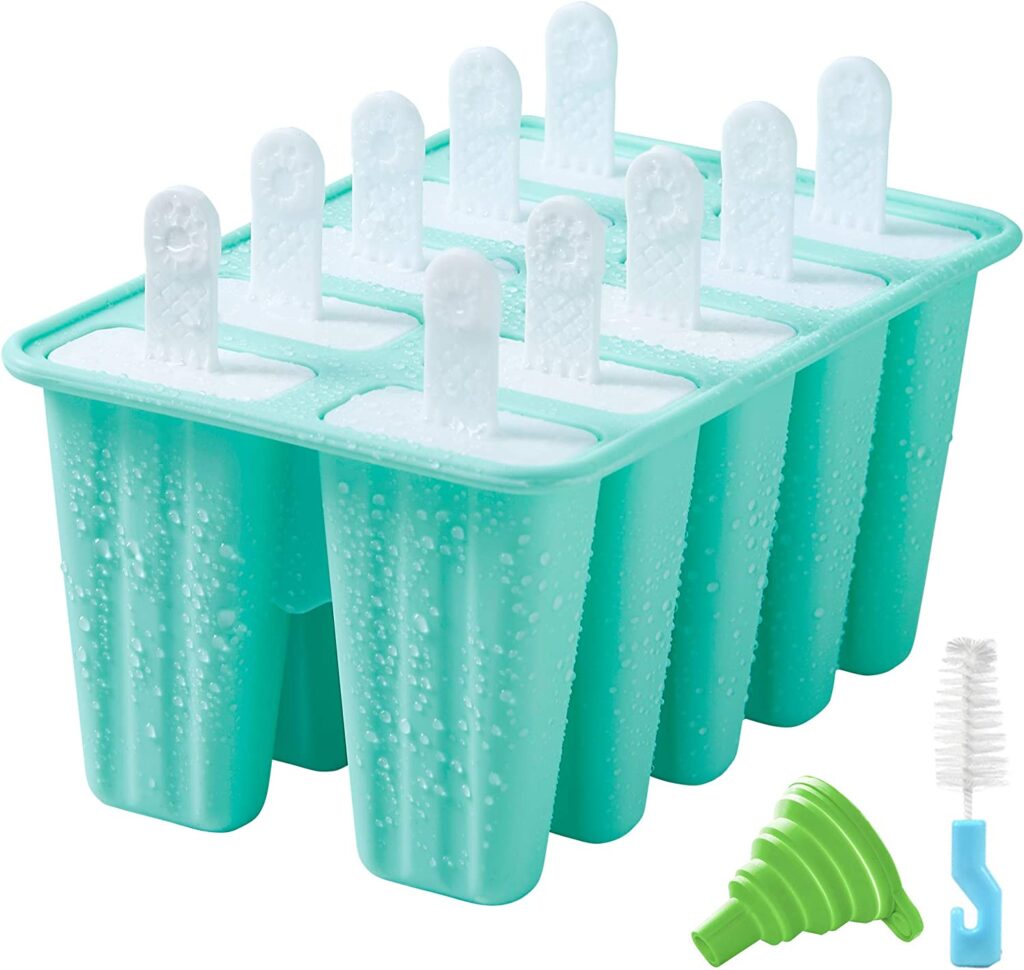
- Carefully spoon a teaspoon of the yogurt mixture into the popsicle molds, then a teaspoon of the berry mixture. Repeat the layers until the molds are full.
- Using a straw or a butter knife, gently swirl the berries and yogurt in each popsicle to create the marbled effect.
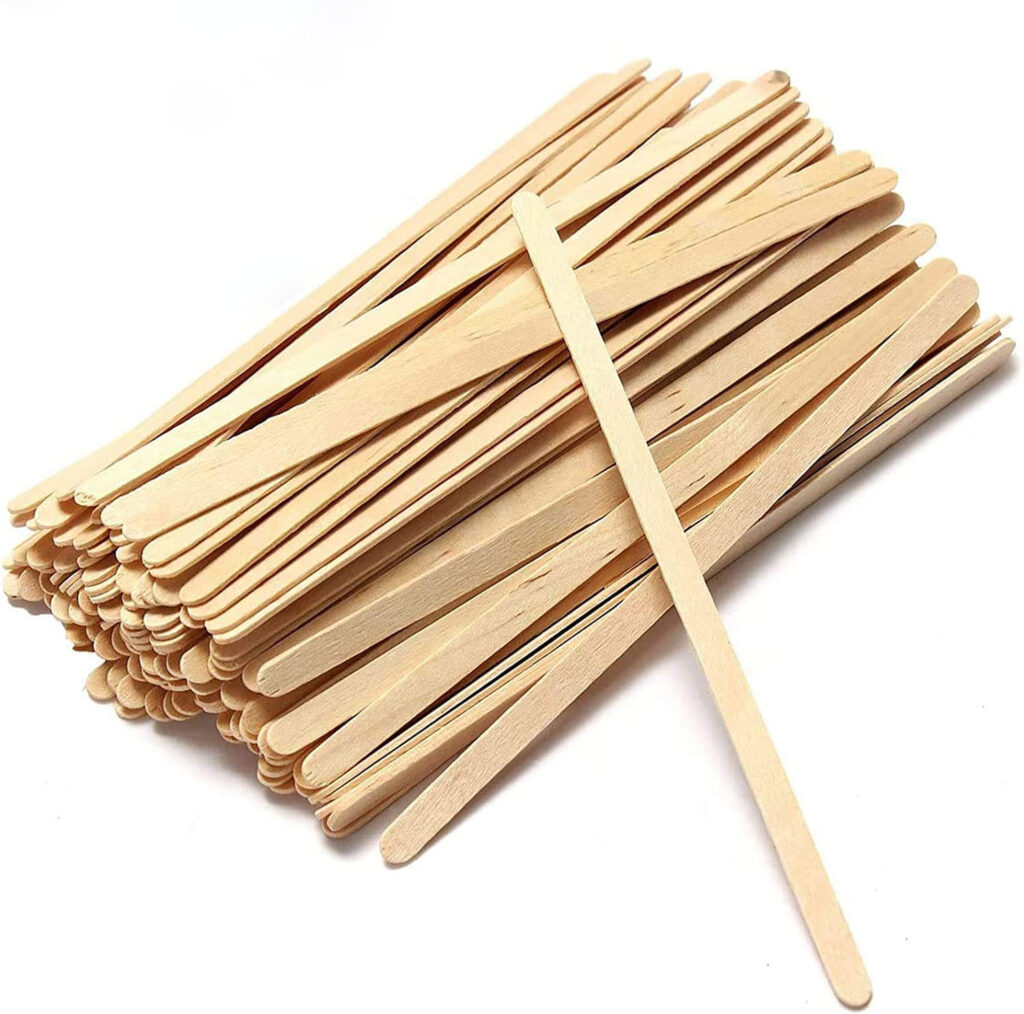
- Insert the sticks leaving about 1½ in (4 cm) sticking out at the top, then place the molds in the freezer and let harden for at least 8 hours.
- To unmold, run the molds under warm water for 15 to 20 seconds, until the popsicles slide out easily. Enjoy right away.
Most of the time, it comes down to too much water. Frozen berries release a lot of it, so we thicken the purée with a little cornstarch to get rid of it. The second secret is the whipped cream and thick Greek yogurt, which bring fat and air for a creamy texture. These two tricks turn a rock-hard popsicle into a smooth, indulgent treat.
Yes, but still cook them down into a purée with the cornstarch to eliminate the water and concentrate the flavour. Frozen berries are convenient and often picked at peak ripeness, but fresh seasonal fruit (strawberries, blueberries, raspberries, blackberries) also gives excellent results. The method stays exactly the same.
Plain Greek yogurt, even 0%. It’s much thicker and denser than regular yogurt, which gives you a rich, creamy popsicle rather than an icy one. I use 0% lactose-free and the result is perfect. Avoid regular yogurt. It’s too runny and will make the texture harder and more crystallized.
Simply run the molds under warm tap water for 15 to 20 seconds while holding the sticks, until the popsicles slide out on their own. Don’t use hot water, which would melt the surface and leave a grainy texture. A little patience and they come out perfectly, without breaking.
Up to 3 months in the freezer, either in their molds or transferred to an airtight container once unmolded. After that, they start to absorb freezer odours and lose some of their creaminess. For best results, enjoy them within the first month or two.
Ads
Ads
Ads
Ads
Ads