

Pepperoni pizza tacos
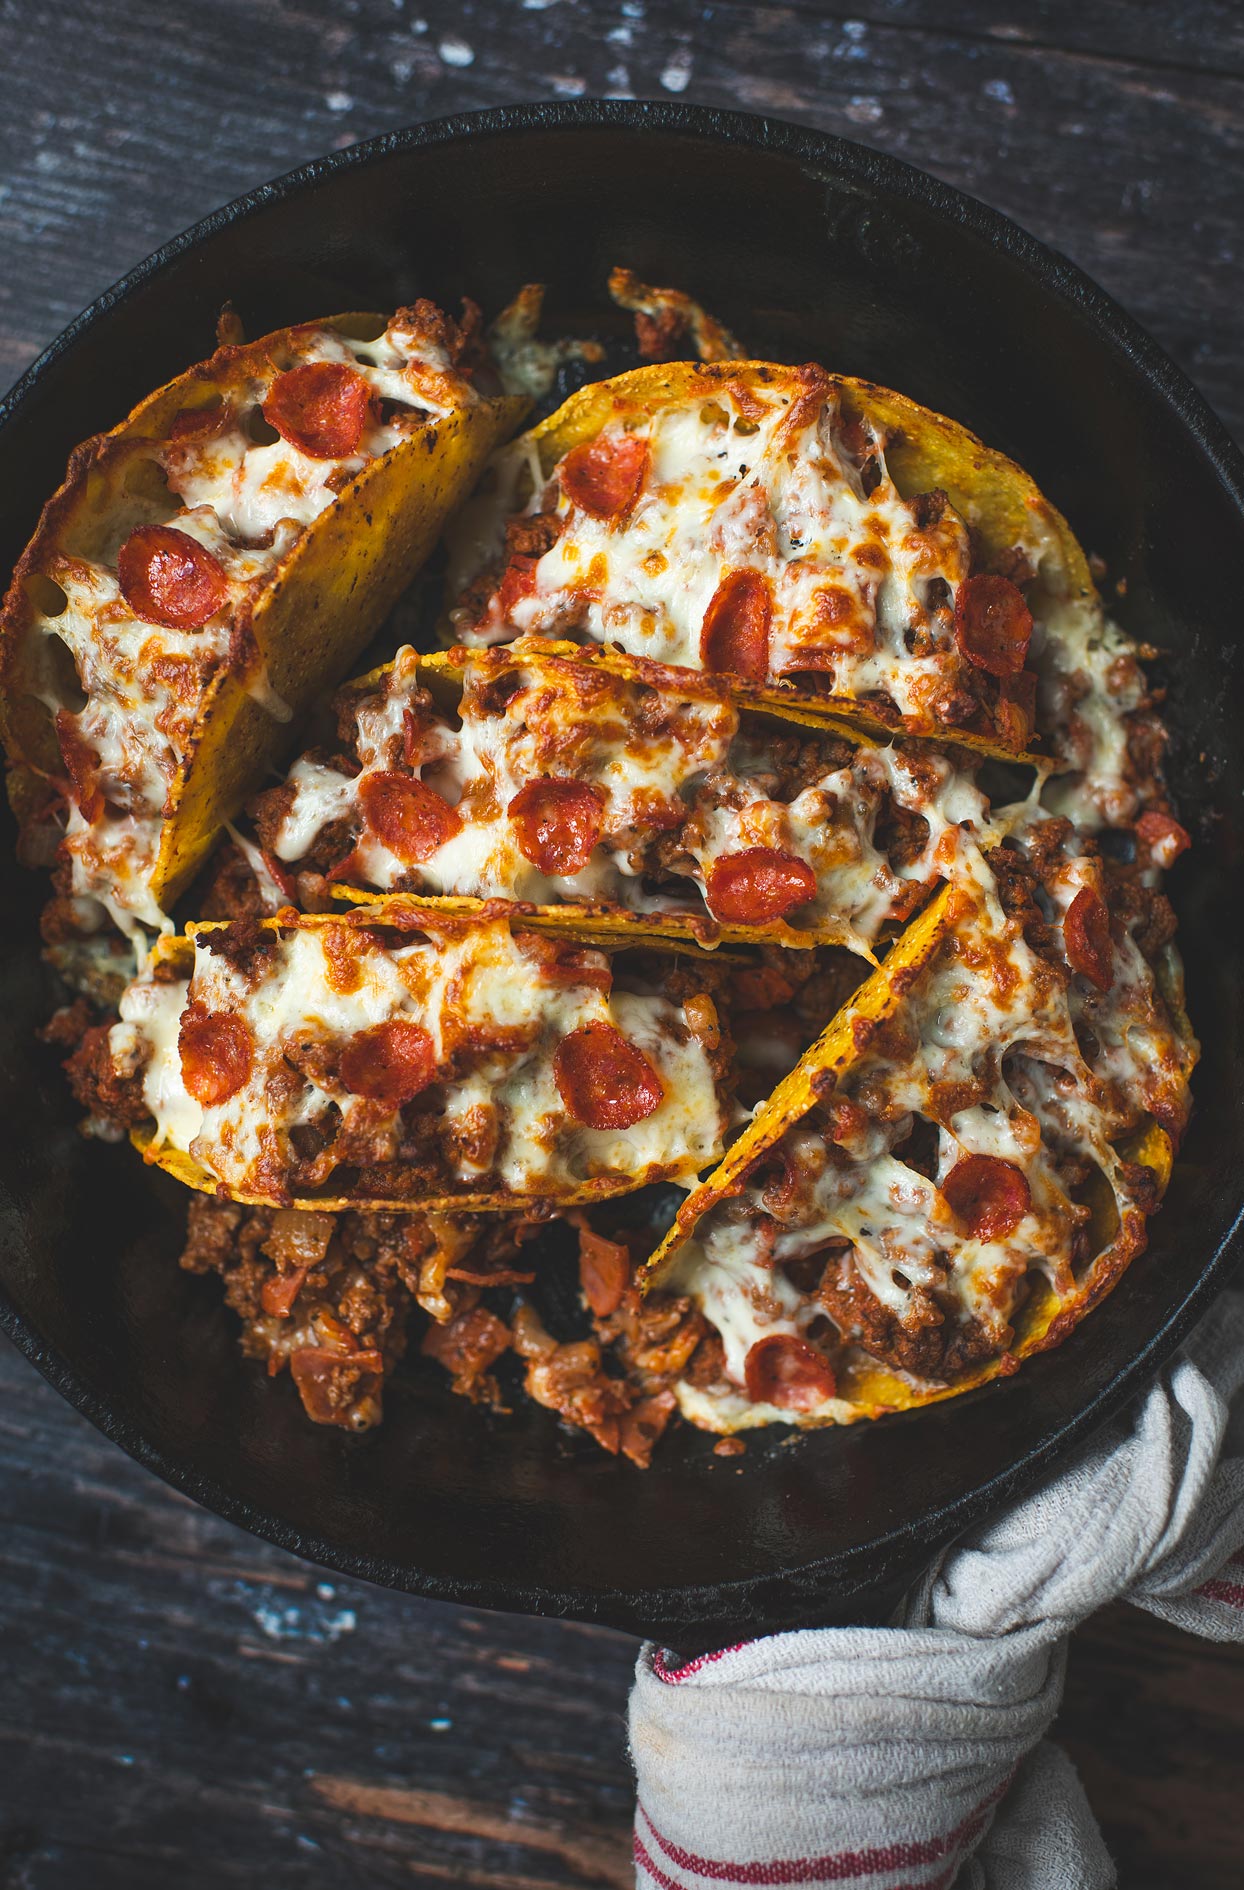
- Preparation 15 min
- Cooking 15 min
- Servings 4 to 6 (10 tacos)
- Freezing Absolutely
Ads
📱 Saw it on Pinterest, absolutely needed my version
I saw a photo of pizza tacos pop up on social media a few weeks ago and I knew I absolutely needed my own version. I spend quite a bit of time on Instagram and TikTok looking at interesting recipes. When something catches my eye and makes sense for my style, I make it my own way and share it with you. That’s life, I love cooking this way, getting inspired by flavors and adapting with what I have on hand. This time, I knew my kids were going to go crazy for this recipe. Pizza + tacos fusion, you really can’t go wrong.
🍕 The fusion dinner that brings together teens, kids and adults
It’s the perfect recipe that brings everyone in the house together. Teens love it because it tastes like pizza, kids love it because it’s a fun taco format to eat with their hands, and adults appreciate it because it’s damn good with a cold beer. Little tip from a dad: if you have teens at home, make a double batch. Trust me, they’ll go through them like there’s no tomorrow. You can even serve this to friends. Serve it with my creamy coleslaw with apples and celery and you’re in business.
⏱️ 15 minutes prep + 15 minutes in the oven, and it’s in your belly
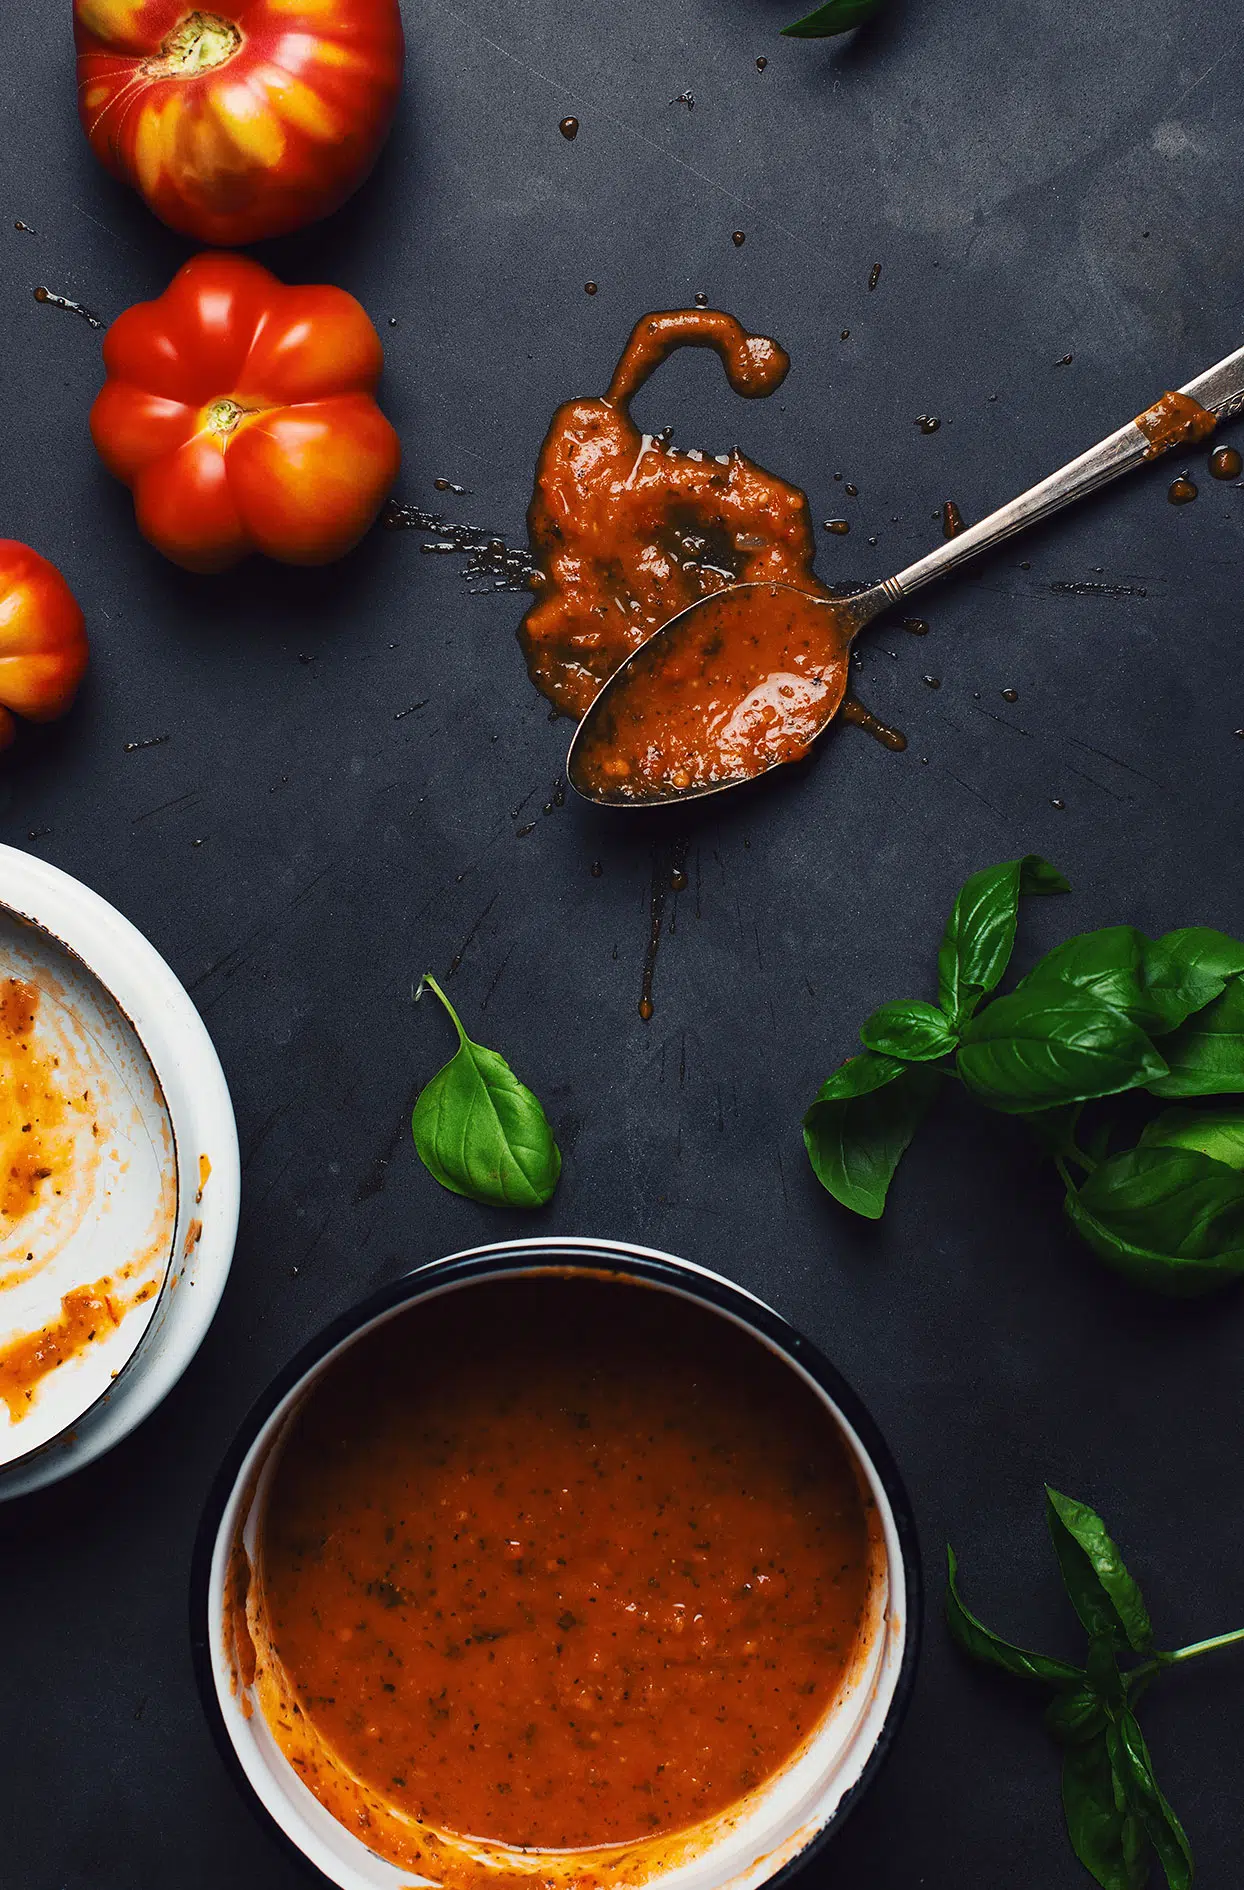
The timing is unbeatable. Fifteen minutes of prep, fifteen minutes in the oven and you have an out-of-the-ordinary dinner ready to devour. It’s perfect for weeknight dinners when you come home late from work or school and want quick comfort food without reheating the same frozen pizza for the 10th time. Ground beef, garlic, onion, my homemade pizza sauce (or store-bought if you’re in a hurry), pepperoni, brick mozzarella grated at home and you’re ready to bake. Five minutes in the oven at 400°F + 2-3 minutes under the broiler to finish, and it’s on your plate.
Ads
Ads
🧀 Brick mozzarella, NEVER pre-shredded from a bag
This is non-negotiable. Pre-shredded mozzarella from a bag is coated with anti-caking agents (starch, cellulose) that prevent the cheese from melting like real pizza cheese. You end up with rubbery cheese that doesn’t stretch. Buy a real brick of pizza mozzarella (which is fattier than regular mozzarella, that’s what we want) and grate it yourself by hand with a 4-sided cheese grater. Five minutes of work, but the result makes all the difference: your cheese stretches like in pizza commercials and melts evenly.
🍖 Pizza pepperoni, in thin pre-sliced brick
Not thick snacking pepperoni sticks. You want real pizza pepperoni sold in thin slices already prepared. Available in the deli section of any Quebec grocery store. A standard 250g package contains 60 to 80 slices. You keep 12 intact to put one slice on top of each taco during assembly (presentation + top flavor), and you roughly chop the rest to incorporate into the meat during cooking. The pepperoni flavor spreads throughout the filling while the meat browns.
🌿 DRIED oregano + basil separately, not an Italian blend
Many recipes use an all-in-one “Italian seasoning” mix. I prefer to dose oregano and basil separately because you control the flavor profile better, 1½ tsp of each is the perfect balance for this recipe. Oregano brings the classic pizzeria side, basil brings the fresh Italian touch. If you want to push it, also add a pinch of red pepper flakes for extra punch.
🔥 400°F in the oven + 2-3 minutes under broiler, that’s the winning sequence
This is the final sequence that changes everything. Five minutes in the oven at 400°F (200°C) to melt the cheese evenly, then 2 to 3 minutes under the broiler at MAX power to brown the cheese and give that little crispy gratin to the shells. Without the broil, you just have bland melted cheese. With the broil, you have golden cheese with caramelized spots and restaurant-worthy visuals.
👀 Watch the broiler like a hawk
Under the broiler, the line between “perfectly golden” and “burnt to charcoal” is counted in seconds. Stand IN FRONT of the oven door and watch through the window. Remove the tray as soon as the pepperoni slices on top start to curl at the edges and the cheese is golden. If you wait 30 seconds too long, you’re starting over with a new tray.
🥗 Serve with a good salad to balance
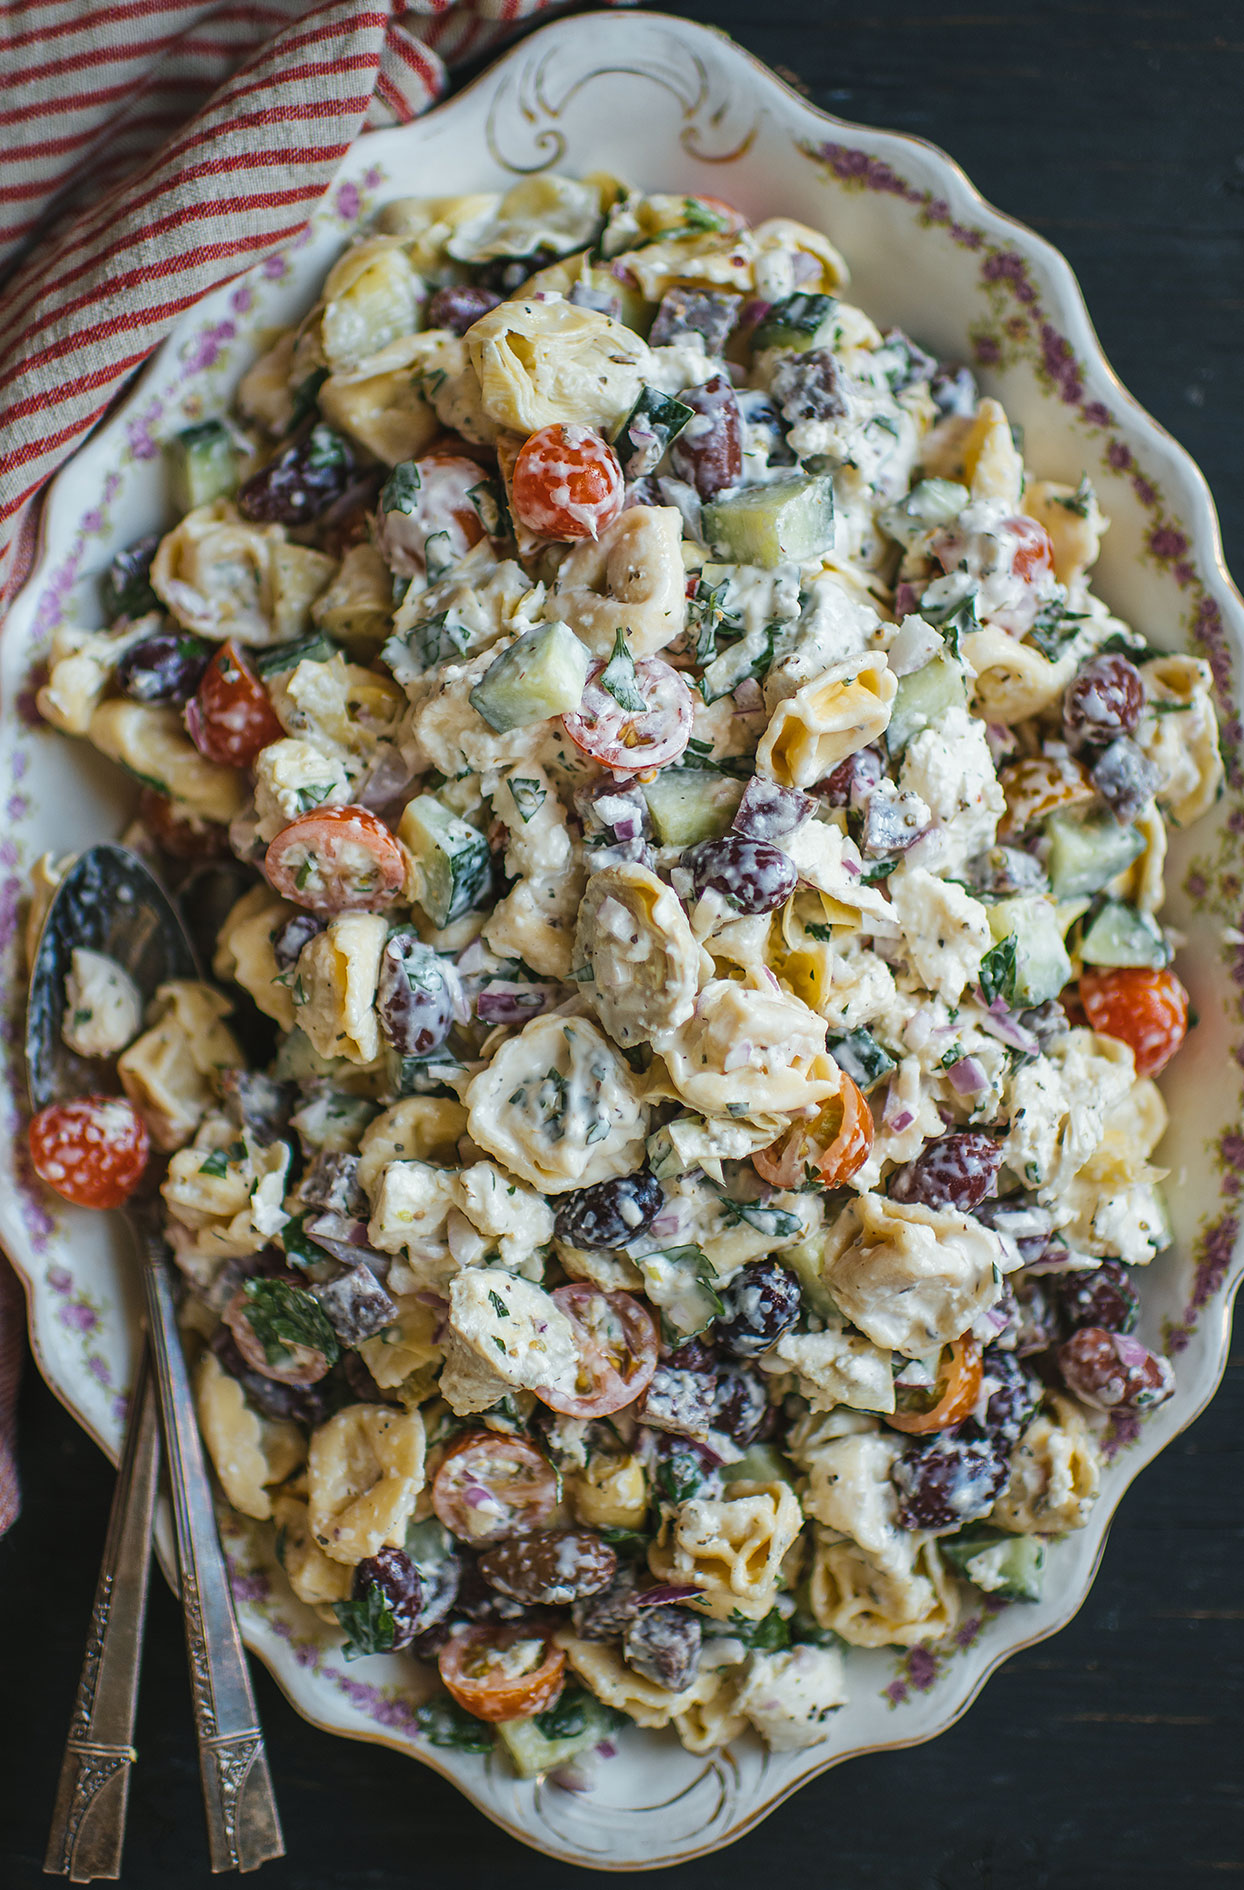
Pepperoni pizza tacos are rich. Cheese, meat, pepperoni, sauce. To rebalance the meal, definitely serve with a fresh salad as a side. My Creamy coleslaw with apples and celery is perfect. The freshness of cabbage and acidity of green apple cut through the richness. You can also go for a simple green salad with Italian vinaigrette or a The best traditional Greek salad to stay in the Mediterranean profile.
🌯 BURRITO variant or soft tortillas
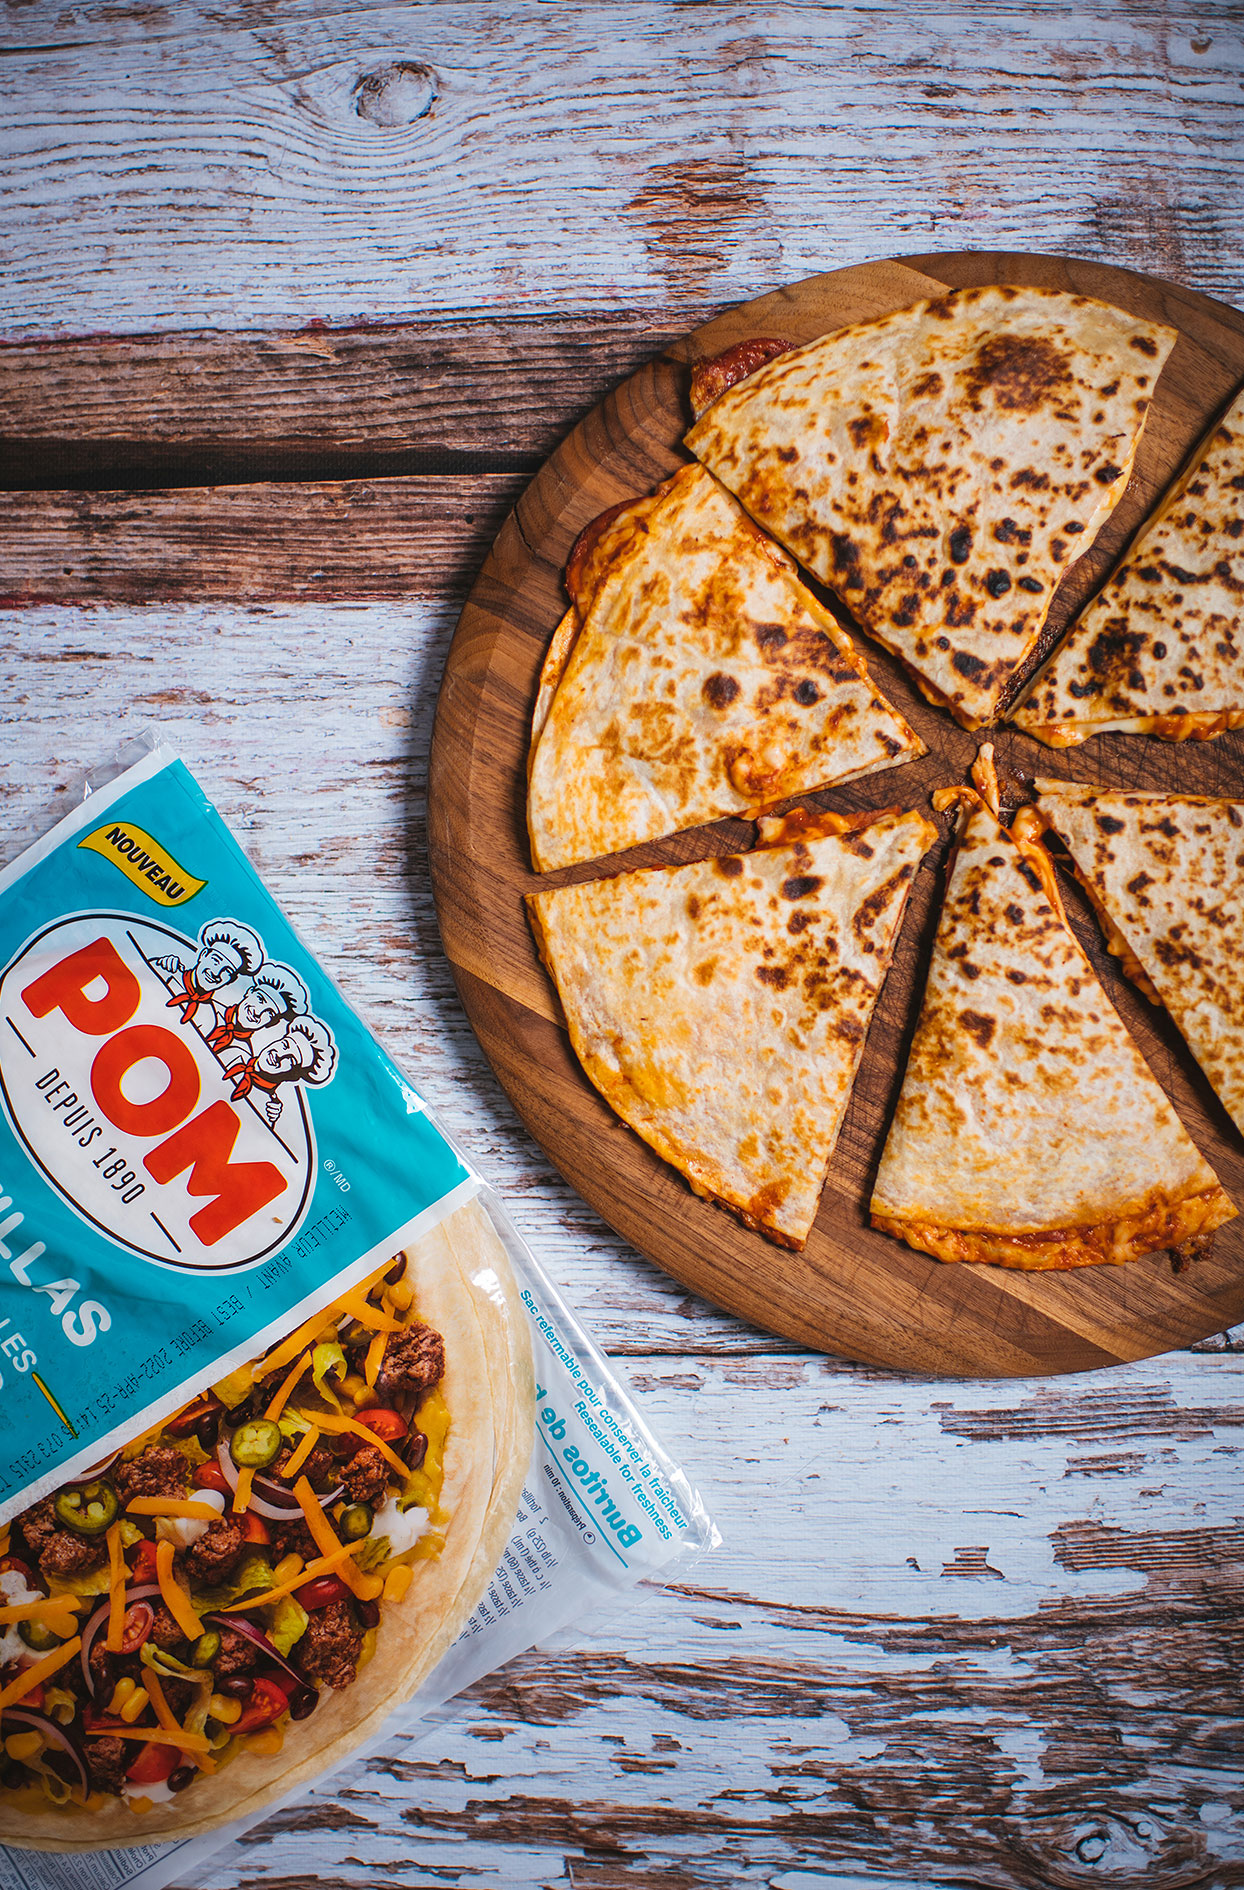
If you don’t feel like buying hard shells or want a version that’s easier to eat for little ones, you can totally make this recipe in soft wheat tortillas or as burritos. Spread the filling on the tortilla, add mozzarella and roll like a classic burrito. You can even brown them in a skillet for a few minutes on each side for a golden and crispy quesadilla/wrap result.
✅ What to serve with my pepperoni pizza tacos?
It’s the perfect family dinner for weeknight meals. Serve them with my Creamy coleslaw with apples and celery for freshness that balances the richness, or with raw veggies like celery/carrots with homemade ranch dip. To push the pizzeria vibe, serve with my Homemade pizza sauce as additional dip and homemade fries. For dinners when you’re having friends over, add a The best traditional Greek salad and you have an Italian-Greek combo that rocks.

Ads
For the filling
- 1 tbsp (15 ml) olive oil
- 1 onion, finely chopped
- 2 garlic cloves, minced
- 2 lb (900 g) medium-lean ground beef
- ½ tsp (2 ml) salt
- ¼ tsp (1 ml) freshly ground black pepper
- 1½ tsp (7 ml) dried oregano
- 1½ tsp (7 ml) dried basil
- 1¼ cups (310 ml) homemade pizza sauce (or store-bought)
- 250 g thin-sliced pizza pepperoni (keep 12 slices intact for topping, roughly chop the rest for the meat)
For assembly
- 10 flat-bottom hard taco shells
- 2 cups (200 g) brick pizza mozzarella, hand-grated
Ads
Preparation
- Preheat oven to 400°F (200°C).
- Set aside 12 intact pepperoni slices for topping the tacos. Roughly chop the remaining pepperoni for the filling.
- In a large skillet, heat olive oil over medium heat. Sauté onion for 3 to 4 minutes until translucent. Add garlic and continue cooking for 30 seconds.
- Increase heat to medium-high and add ground beef along with chopped pepperoni. Season with salt and pepper. Cook while breaking up the meat with a spoon until well browned, about 6 to 8 minutes. Drain excess fat if needed.
- Add dried oregano and basil. Pour in pizza sauce and simmer for 3 to 4 minutes until mixture thickens. Remove from heat.
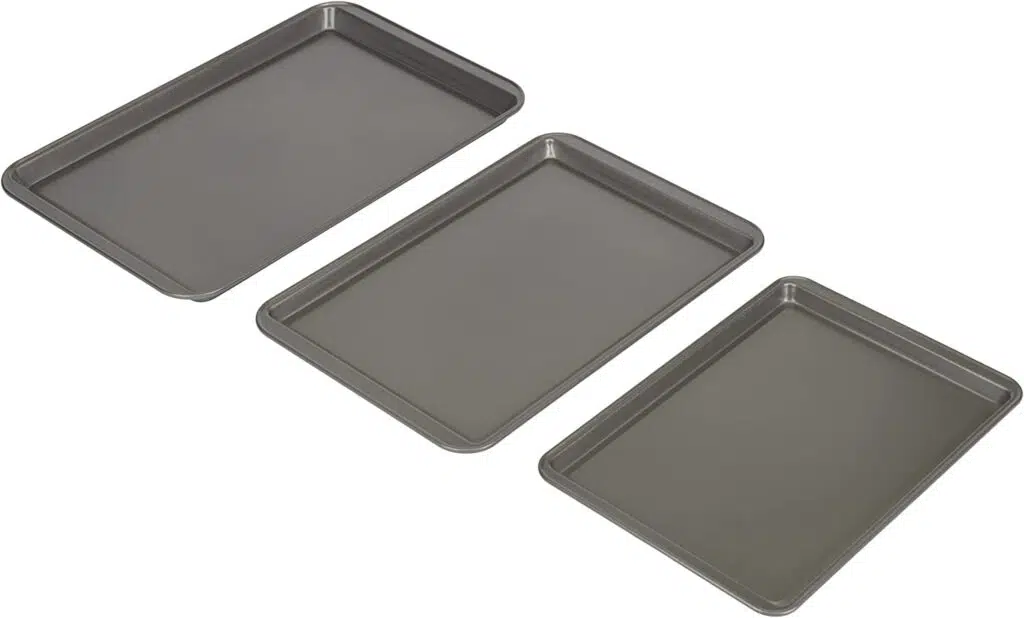
- Place hard taco shells standing up in a baking dish. Divide meat filling among each shell, cover generously with grated mozzarella and top each taco with one intact pepperoni slice.
- Bake for 5 minutes until cheese is melted. Then place under broiler for 2 to 3 minutes to brown the cheese and crisp up the shells. Watch like a hawk. It burns fast under the broiler.
- Serve immediately with a good salad.
You want flat-bottom hard taco shells (also called “stand-up shells”), like Old El Paso Stand ‘N Stuff or equivalent. They stand up on their own in the baking dish, which makes assembly and oven cooking much easier. Available in all Quebec grocery stores, usually in packs of 10. Which explains the 10-taco yield. If you can’t find them, traditional hard taco shells work too, but you’ll need to prop them up in the dish with aluminum foil or lay them on their side.
Because pre-shredded mozzarella from a bag contains anti-caking agents (potato starch, powdered cellulose) that prevent pieces from sticking together. But also prevent the cheese from melting evenly and stretching like real pizza cheese. You end up with rubbery and uneven cheese. Buy a real brick of pizza mozzarella (look for “firm mozzarella” or “pizza mozzarella”) which is fattier than regular mozzarella, and grate it yourself with a 4-sided cheese grater. Five minutes of work that makes all the difference in the final result.
Absolutely. The filling (beef + pepperoni + sauce + spices) keeps for 3 days in the fridge in an airtight container. It’s even excellent meal prep for busy weeknights: prepare the filling on Sunday, and on nights when you’re short on time, you just reheat it in the skillet for 3-4 minutes, fill the shells, add cheese and bake for 5 + 2-3 minutes. Fifteen minutes total cooking time after work. The filling also freezes very well in airtight bags for up to 3 months.
Yes, it’s even an excellent variant for younger kids or those who prefer a less crumbly version. Spread the filling on a soft wheat tortilla (10 inches), add grated mozzarella and the intact pepperoni slice, then roll like a burrito by first folding the sides. You can serve as is or brown them in a skillet for 2 minutes on each side for a golden and crispy quesadilla/wrap result. You can also try with soft taco shells (like Old El Paso soft type) for a compromise between hard and tortilla.
It’s the perfect family dinner for weeknights or having friends over. To balance the richness, definitely serve with my creamy coleslaw with apples and celery or my the best traditional greek salad. To fully push the pizzeria vibe, add my homemade pizza sauce as additional dip, raw veggies with ranch dip and homemade fries. For group dinners, double the recipe because with teens at home, they’ll go through them like there’s no tomorrow.
Ads
Ads
Ads
Ads
Ads