The ultimate guide for your cast-iron pan
Ah, the cast-iron frying pan. That indestructible beast from the dawn of time, which we could pass on to our grandchildren… if we look after it properly! But that requires a little know-how (and a lot of love). Here’s how to turn that burly black lump into the queen of non-stick and the cook’s best friend. You’ll see, it’s ridiculously simple.

Ads
How to season your cast-iron frying pan
Before you even think about cooking eggs in it, you need to season it – in other words, baptize it with fat. The first step is crucial, so prepare your vegetable oil (and forget olive oil, it doesn’t hold up at high temperatures!).
- 1- Preheat the oven to 200°C (or 400°F), and while it’s heating, give the pan a good hot-water bath. No harsh soaps here, just a good brush to remove dust residues. Then dry it completely.
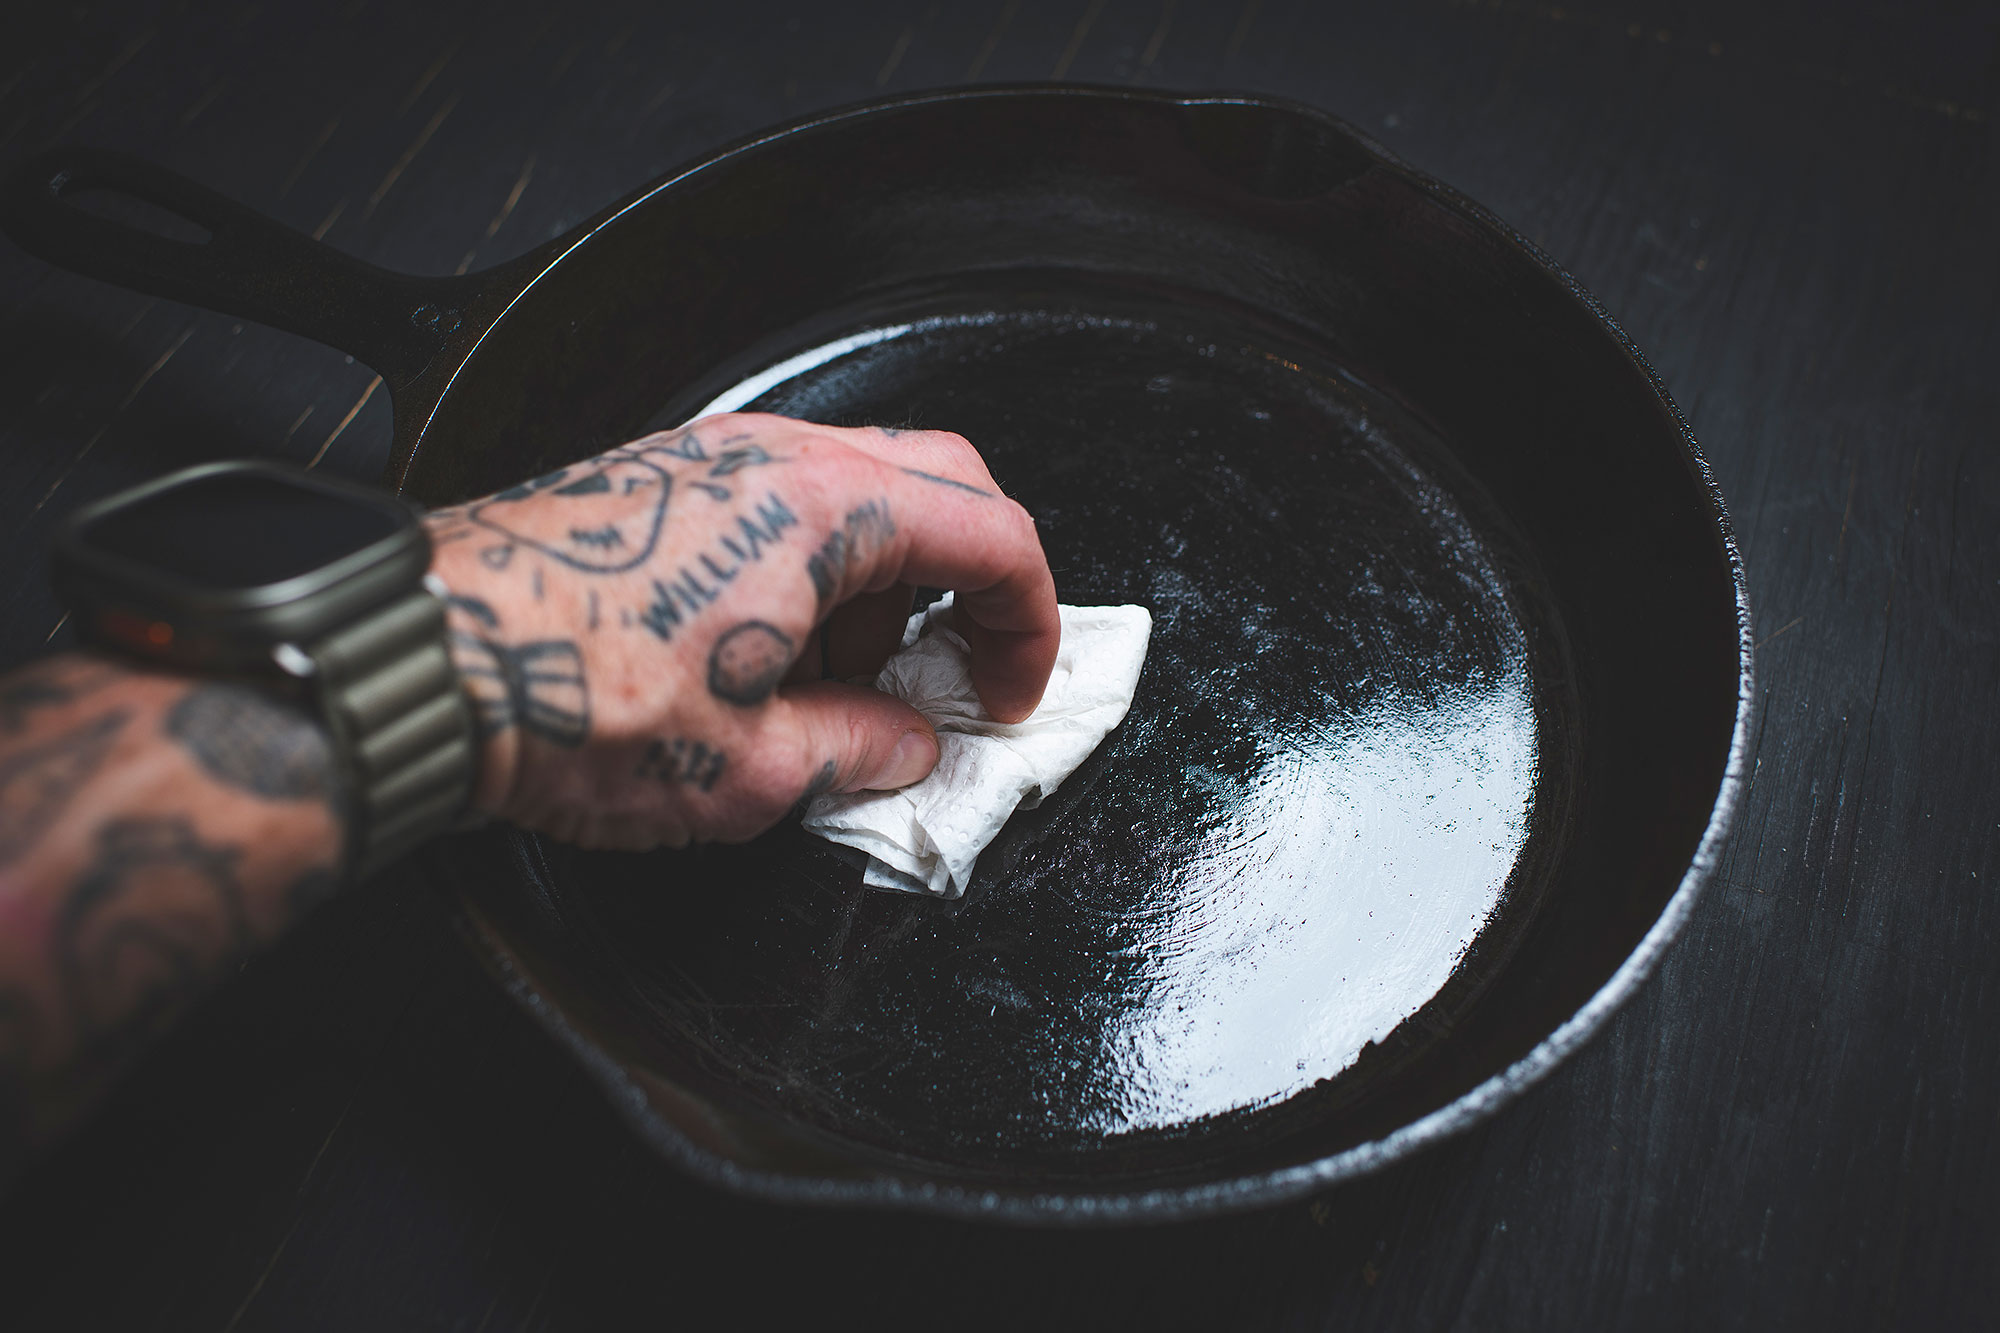
- 2- Apply a good coat of neutral oil all over – and when I say all over, I mean EVERYWHERE. Handle, underside, rim – it needs to shine like a new penny.
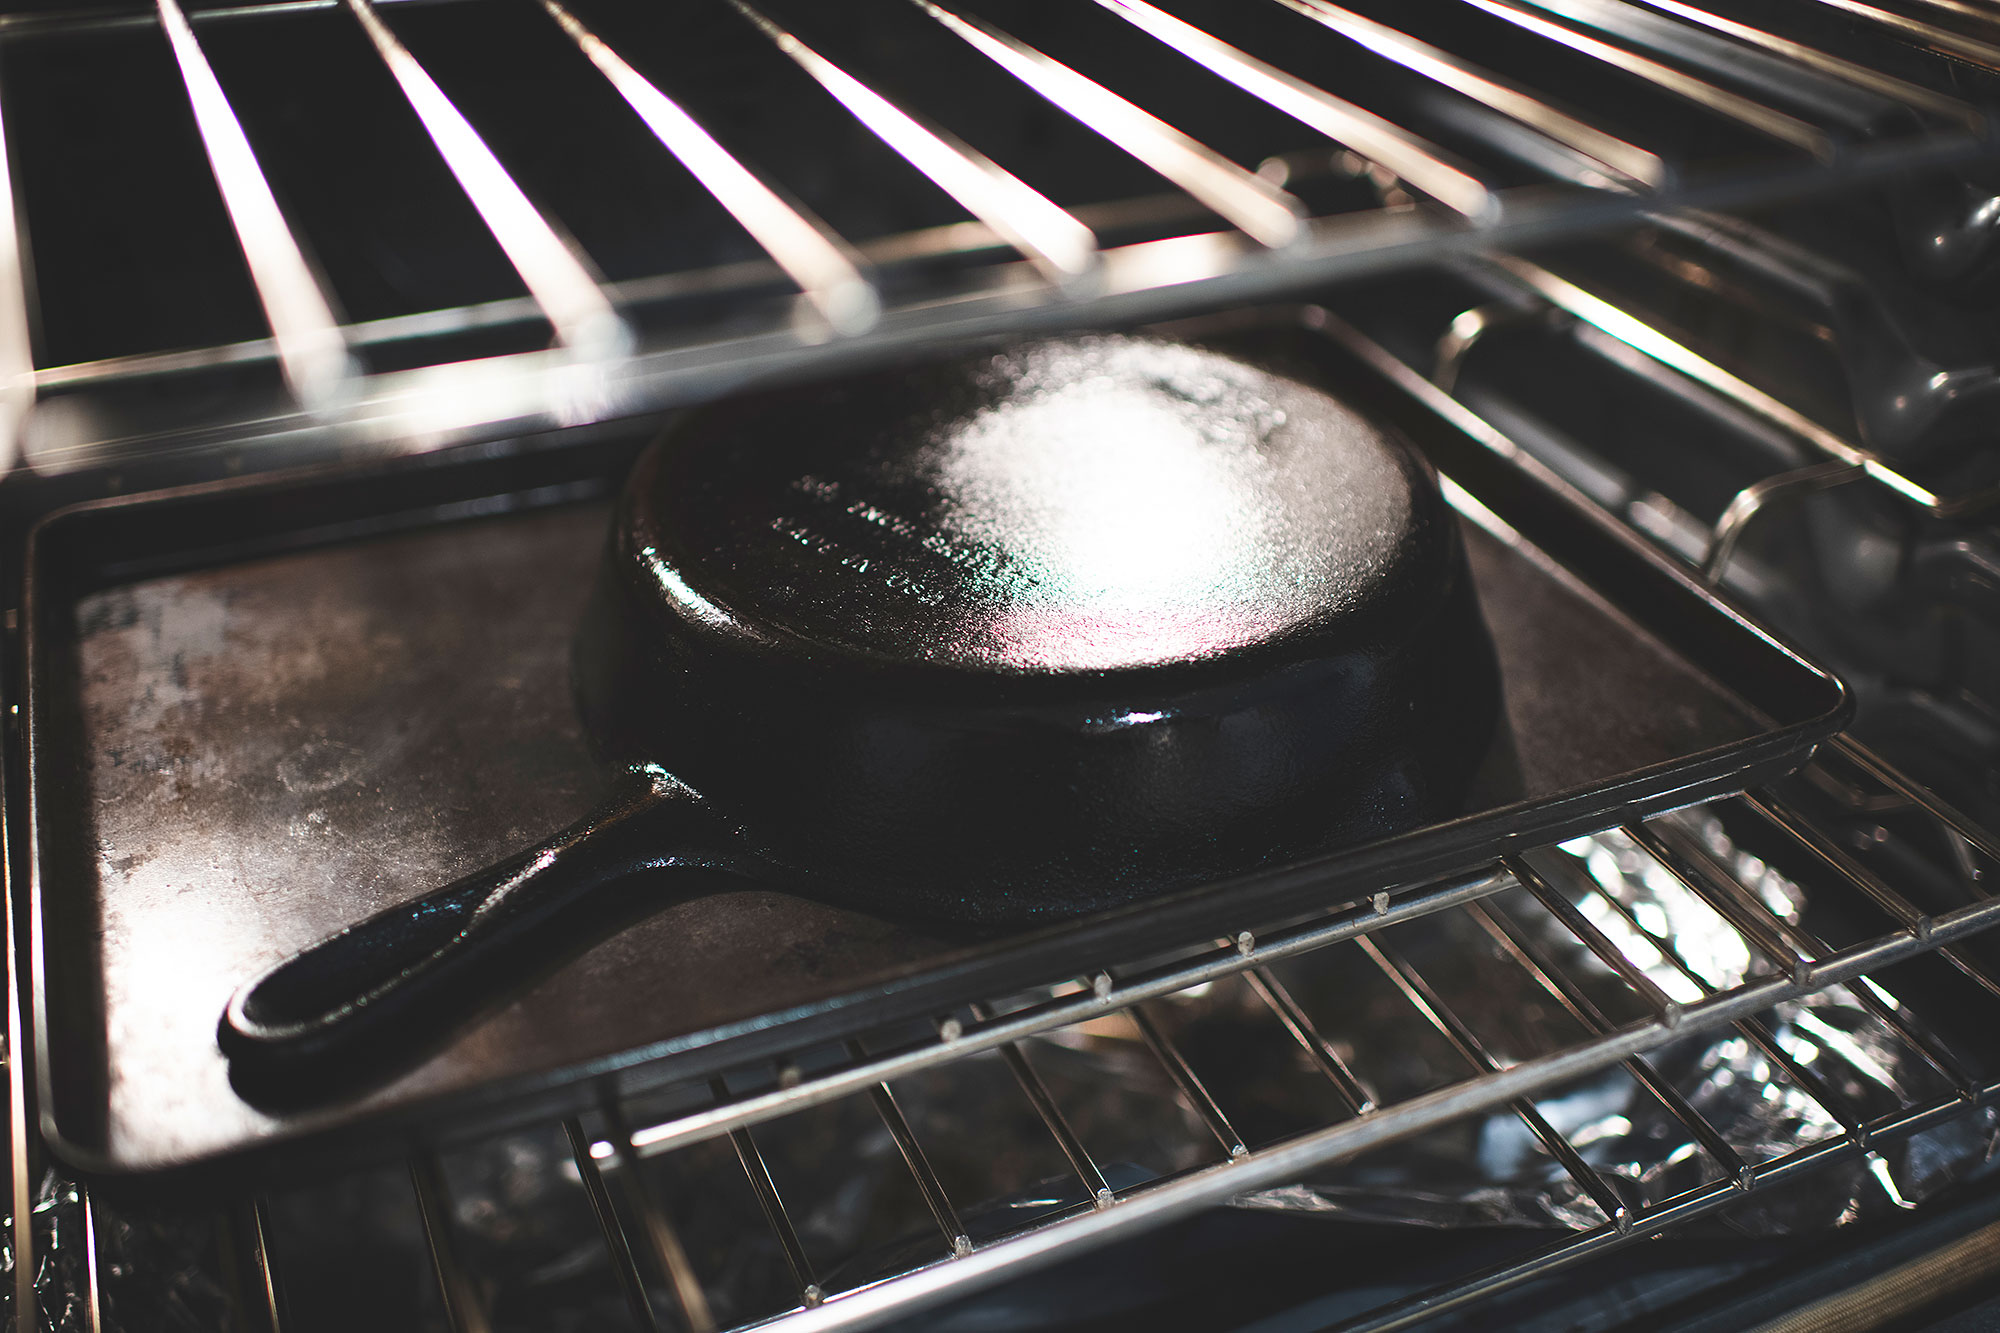
- 3- Bake the pan upside down on a baking sheet (to prevent the oil from pooling on the bottom) for one hour. Then turn off and let cool completely in the oven. Repeat steps 2 and 3 twice more for a nice, smooth, non-stick surface. And that’s it, your pan is now seasoned!

Daily maintenance
Once the base is installed, maintenance is child’s play (or almost). Each time you use it:
- Wipe with a cloth or paper towel, just to remove any residue. If there are any stuck-on pieces, use a wooden spatula to avoid scratching.
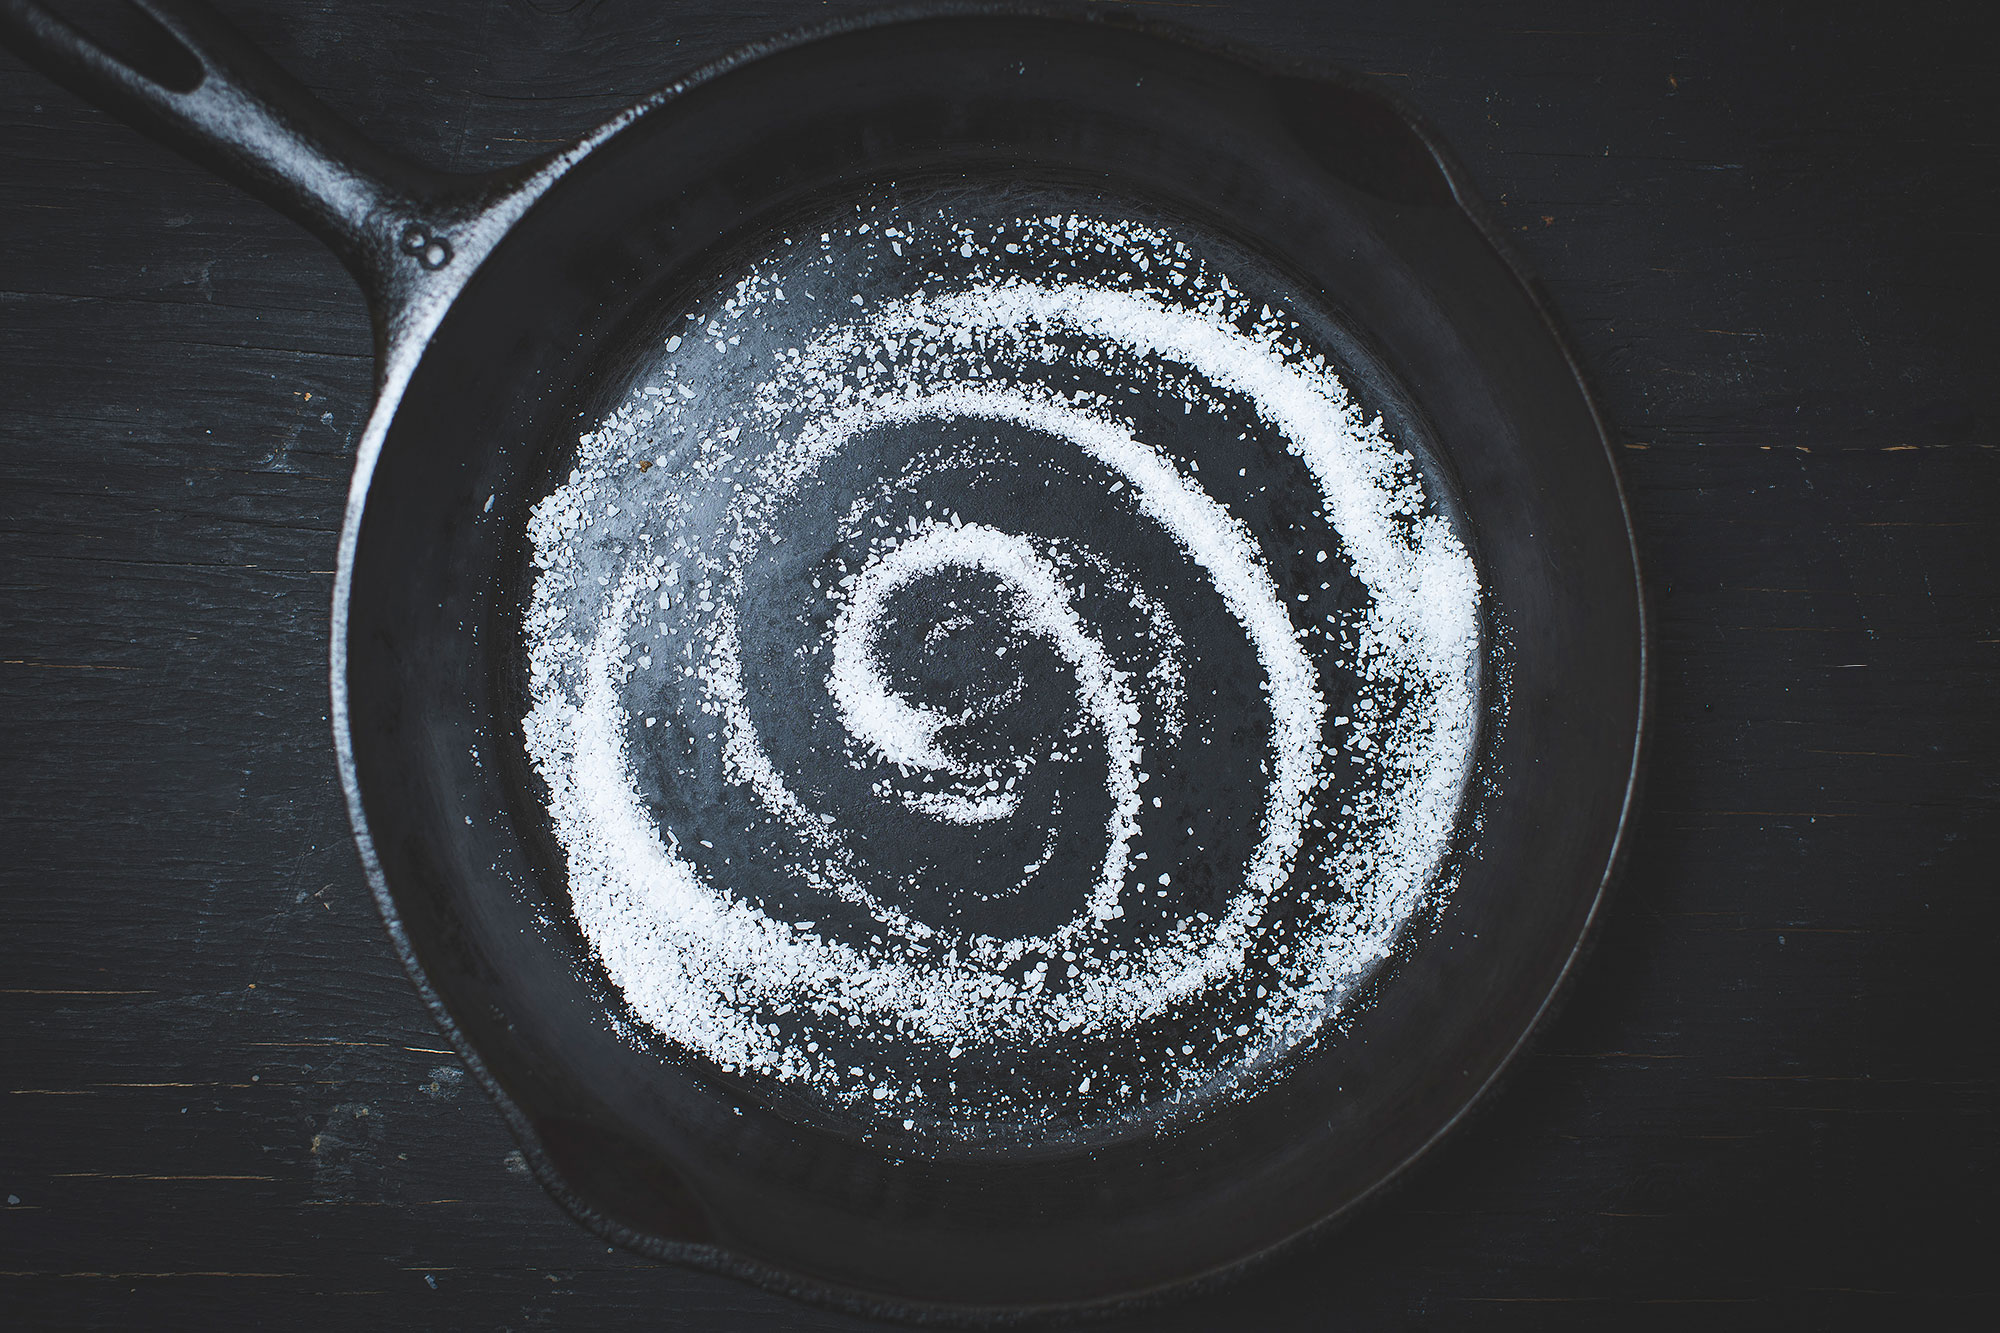
- Rinse with hot water (no soap!) and, if necessary, rub with a little coarse salt to dislodge cooking residues without damaging the surface. This salt is the micro-sand of chefs: abrasive but not corrosive.
- Dry immediately and reapply a thin layer of oil before storing. Yes, another coat of oil – cast iron is like a cat, it loves attention.
Ads


How to make slippery eggs and perfect pancakes
The ultimate goal is to transform your cast-iron pan into a natural non-stick surface. To achieve this, you need an accumulated, well-cooked, carefully maintained layer of seasoning.
Here are the secrets:
- Use it often: the more oily foods you cook at first (bacon, fatty meats), the smoother the surface will develop.
- Don’t overheat it dry: heat it with a little oil to avoid burning the surface.
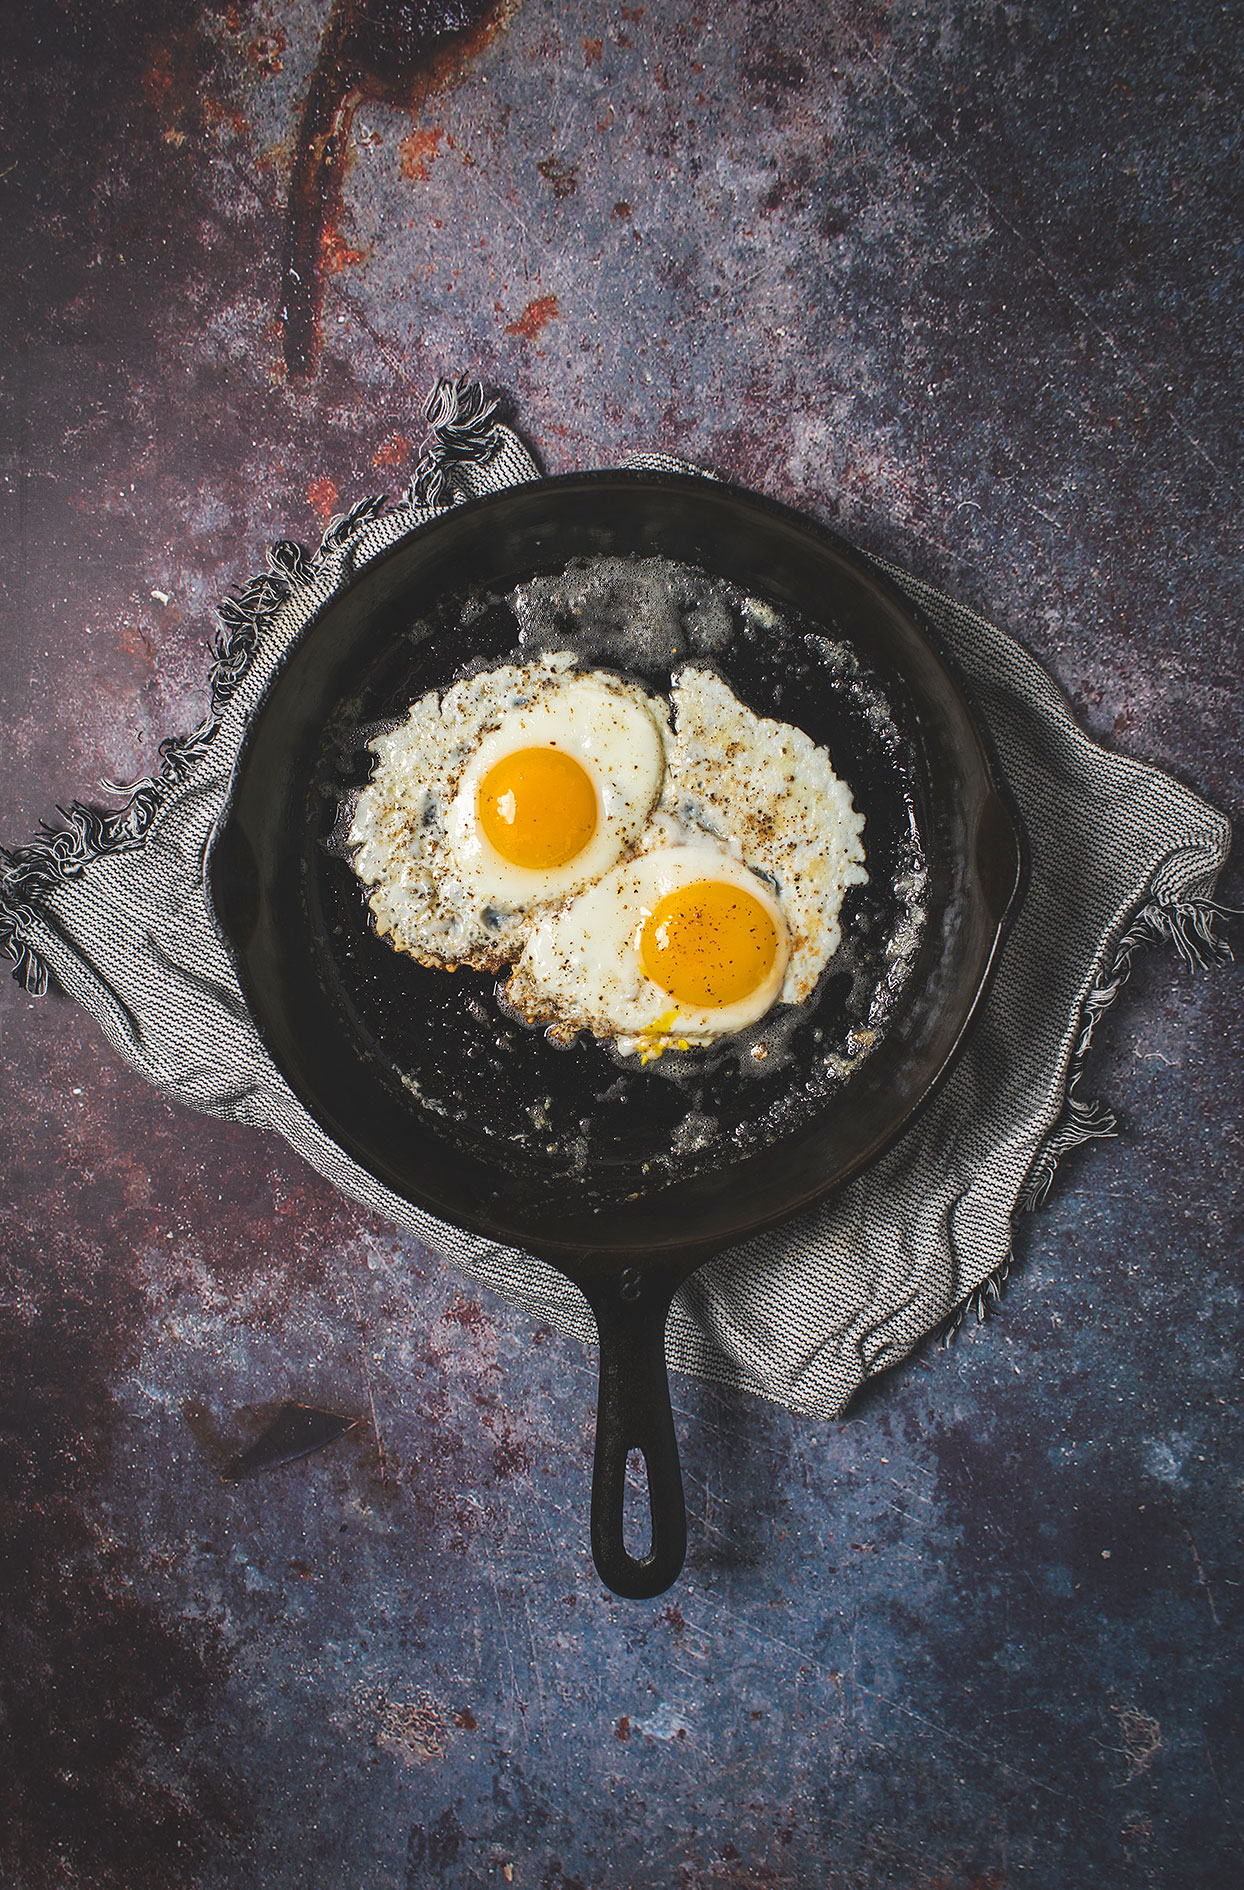
- Eggs? Wait until the pan is hot before adding a little butter or oil, and only then add your eggs. You’ll see, they’ll slide like skaters in the middle of a championship.
By following these steps, your cast-iron skillet will remain the tireless warrior of your kitchen, ready to follow you on all your culinary adventures without ever getting hung up. So, to your tea towels and oils!
Ads
*** Got a rusty old cast-iron skillet? Follow these steps before seasoning:
Here’s what you’ll need for this job:
- Wire brush or drill with wire brush attachment
- Steel wool or scouring pad
- White vinegar
- Hot water and soap (yes, this is an exception for cast iron!)
Step 1: Remove rust
Start by removing most of the rust:
- Scrub the rusted surface vigorously with a wire brush or steel wool. This will help remove the surface layers.
- If you have a drill, a suitable wire brush can speed up the process.
- Rinse well after this step to remove any residue.
Step 2: Soak in a vinegar solution
For areas where rust persists, use a solution of half white vinegar and half water:
- Place your pan in this solution for 1 to 8 hours. Caution: Don’t leave it too long, as the vinegar may attack the sound metal.
- Once soaking is complete, rinse thoroughly and brush off any remaining rust.
Step 3: Clean thoroughly
Once you’ve removed the rust, it’s time to give the pan a thorough cleaning:
- Use hot water and a small amount of soap to remove all residues. Yes, you can use soap at this stage – it’s exceptional!
- Rinse thoroughly and dry immediately with a clean cloth or by gently heating the pan on a stove to remove any moisture.
